Setting up a View
Your organization must set up at least one View before using the Scheduling module. Views are typically set up by the System Administrator or Super User during the initial setup of the Scheduling module, but you may need to add new Views to accommodate the scheduling and resource management needs of different Business Entities or facilities, physician groups, or staff members. Views are shared between AmkaiOffice and AmkaiCharts, so you may want coordinate with Clinical staff to configure Views useful to them.
For each View, you can configure the columns to show any combination of Providers, Rooms and Equipment, as long as these resources are marked as Scheduling Resources in the appropriate dictionaries. You can also configure the time shown on the rows of the Grid in any increments you choose. You can only schedule into rooms that are Room Type OR Procedure. Having Providers or Equipment display as columns in the grid would be for informational purposes only.
Views are created using the Views option from the Sheet Bar Setup menuSheet Bar Setup menu in the Scheduling module. You may want to set up a View for each of your facilities. You can set a particular View as the default for your Business Entity. Users may also save default Views at the user level on the Preference Editor Screen. Users can also select an existing View from the View option at the top of the Sheet Bar.

To set up a new View:
Open the Scheduling module.
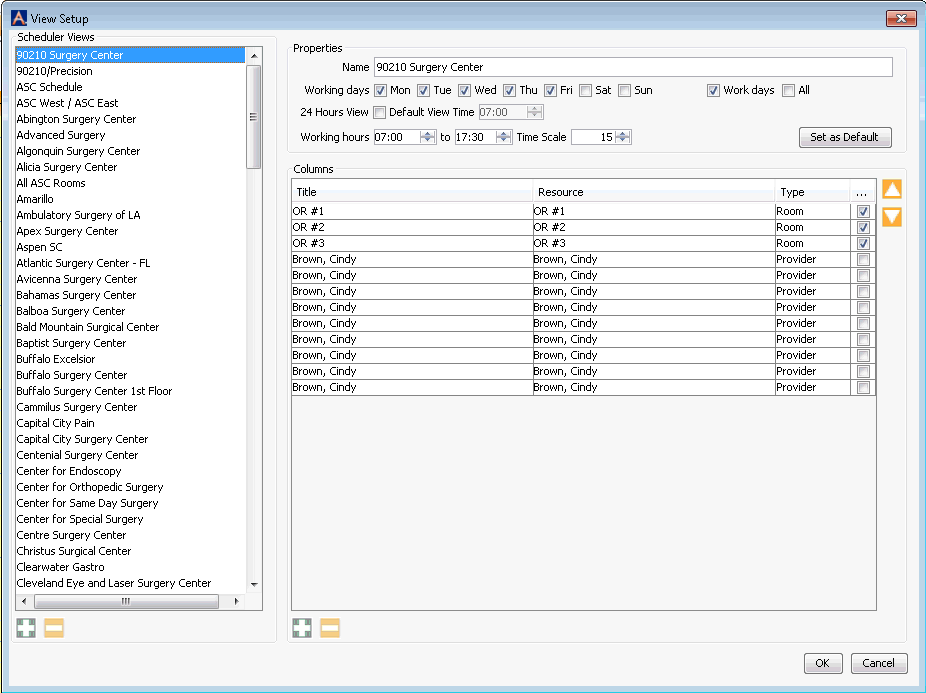
From the Sheet Bar heading Setup, select Views. The View Setup dialogView Setup dialog appears.

Existing Views are listed in the Scheduler Views pane on the left of the dialog. Details of the View that is currently selected display in the Properties section and Columns section on the right.
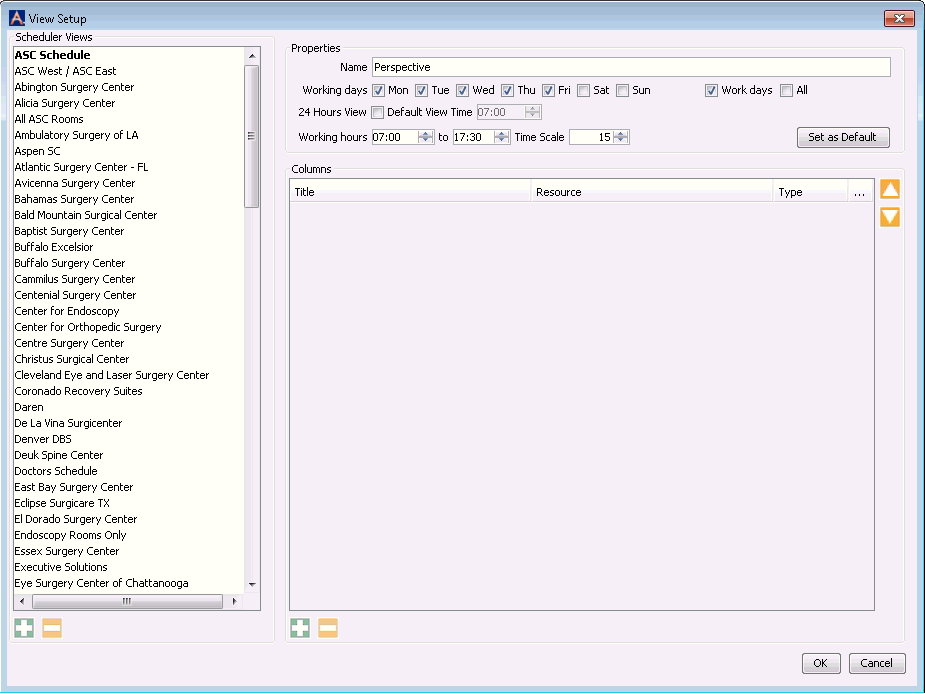
Click the plus sign icon at bottom left of Scheduler Views pane to create a new View. The PropertiesProperties section refreshes and includes default data that you can replace with information that defines your new View.

In the Properties section, type the name of the new View in the Name field. The name must be unique from the others in the list.
Set the days of the week that are available for scheduling appointments in one of the following ways: (Only the days you set will show on the Schedule when you View the Weekly or Weekly by day schedule.)
Select the Work days check box to show Monday through Friday.
Select the All check box to show Monday through Sunday.
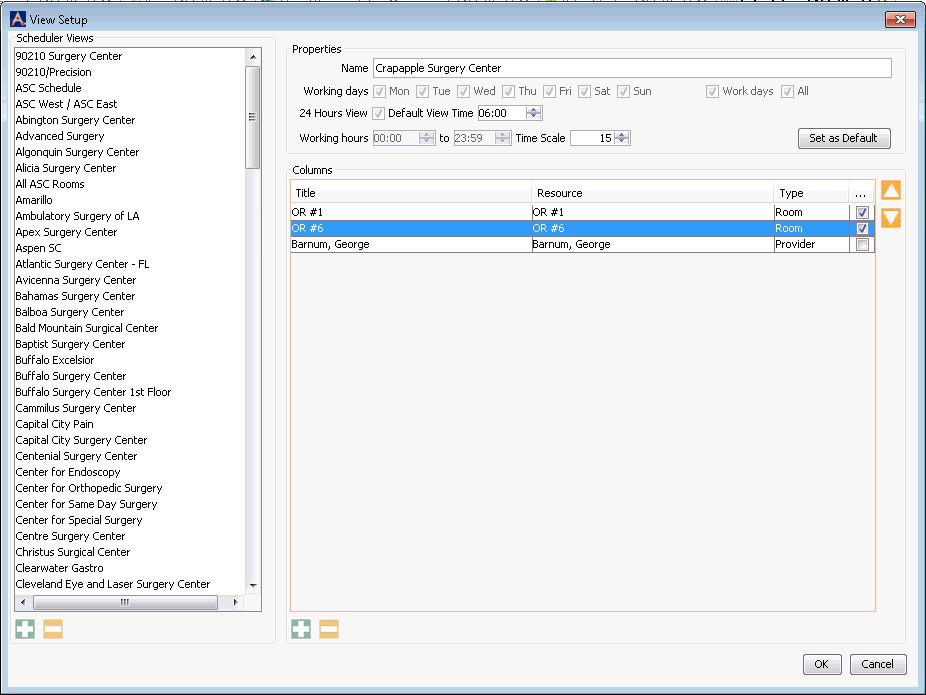
Select the 24 Hours View check box to show an entire 24-hour period on the grid. This selection is normally used to schedule recovery time for facilities that provide 23 hour care. If you select 24 Hours View, the days of the week and working hours fields will now lock down and no longer be available to select. Define the hour at which the 24 hour day begins and ends by entering that time in the Default View Time field using the 24 hour day. For example, if you want the schedule to default to a start time of 6:00 a.m., set the Default View Time field to 0600. Use one of the following methods to set the Default View Time:
Type an hour in the free text Time Scale field.
Use the up and down arrows to change the hour in increments of one hour.
Work hours for your organization were configured when AmkaiOffice was installed, but you can select different work hours using one of the following methods:
Type starting and ending times in the free text Working hours fields.
Use the up and down arrows to change the start and end times in increments of one hour.
Define the increment of time in minutes that you want to show on the rows of the Schedule. For instance, if you select 30 in the Time Scale field, the rows of the grid will be divided into 30 minute intervals. Use one of the following methods:
Type a number of minutes in the free text Time Scale field.
Use the up and down arrows to change the Time Scale entry in five minute increments.
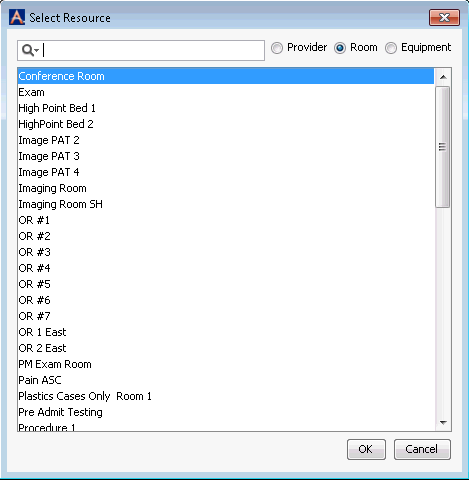
You can add columns to your new View that enable you to use Providers, Rooms, and Equipment to schedule Appointments. These Resources must have already been set up in their respective dictionaries in order for you to use them to create a View. See About Setup Options for more information. To add a column, click the plus sign icon below the Columns field. The Select Resource dialogSelect Resource dialog appears.

Choose from one of the three radio buttons at the top of the dialog to add a Room, Provider, or piece of Equipment to the View.
Click OK. You are returned to the View Setup dialog. The Resource you added is now listed in the Columns table on this dialogColumns table on this dialog.

If the resource selected is one that permits you to schedule into it, click the check box to the right of the Type. If you do not check this box, you will not be able to add appointments to that room. If the system does not permit you to check the box, the Resource you selected does not permit scheduling appointments into it.
You can modify the name that appears at the top of the scheduling grid column by clicking into the field labeled Title and typing in your preferred description. In some cases, the modified description will be used and in others the actual Resource name will be used.
To add additional scheduling grid Columns, repeat steps 10 - 12.
To remove a column you have added, select it and click the minus sign icon.
The columns will appear on the gird in the order in which they are displayed, and you can use the up/down arrows to arrange the rooms in the order you wish to see them displayed on the grid.
Click Set as Default to designate this new View as the one each user in your Business Entity sees upon first opening the Scheduling module.
Click one of the following buttons:
-
Saves your View, and returns you to the Scheduling Grid.
-
Closes the dialog without saving your changes.
-
Related Topics