Printing Chart Packs by Scheduled Date of Service
You can print Chart Packs by date of service or by date of entry (when the case was added to the schedule). Within the date range you choose, you can further filter the list of cases by Schedule (Room in which the case is scheduled), Remark Category, and/or Surgeon.
To print a Chart Pack or Individual Forms by Scheduled Date of Service
- Open the Scheduling module.
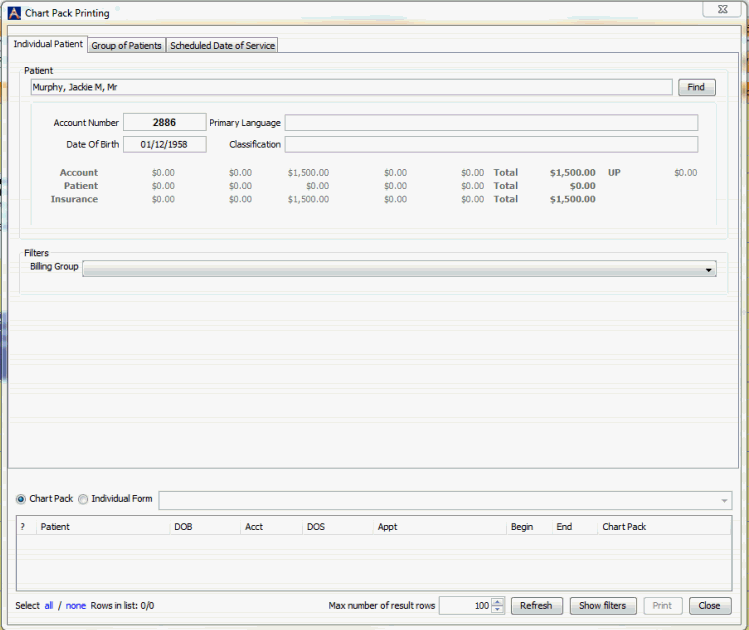
- Click Print Chart PacksPrint Chart Packs from the Utils option on the Sheet Bar. The Chart Pack Printing dialogChart Pack Printing dialog appears, open to the Individual tab by default.


- Select the Scheduled Date of Service tab. The Chart Pack radio button is selected by default. See step 9 below for information on printing individual forms.
- Complete the filters for the subset of cases for which you would like to print Chart Packs.
- Click Refresh to pull the cases that meet the selection criteria to the grid.
- Review the cases and deselect any for which you do not wish to print Chart Packs.
- Click Print to process the request. The system will display the print message and the forms to be printed based on the cases included in the selection.
- Click on the printer icon to send the job to the printer.
- The Scheduled Date of Service tab can also be used to print an individual form for a subset of cases. Select the filters, select the Individual Form radio button, and click Refresh to pull the cases that fit the criteria to the grid.
- Use the drop down arrow to access the forms included in the Charts Document dictionary. Click Print to process the request, and then click on the printer icon to send the job to the printer.
Other options for Printing Chart Packs
You can also print Chart Packs by: