Adding Template Definitions
To set up a new Template, first you have to add a Template Definition, which specifies the parameters of the Template, including the purpose for which the Template is being reserved, the color it is to be shaded on the Grid, and a description.
Then you can add the Template you defined to the Scheduling Grid, so that Appointments can be scheduled in the Template.
To add a Template Definition:
Open the Scheduling module.
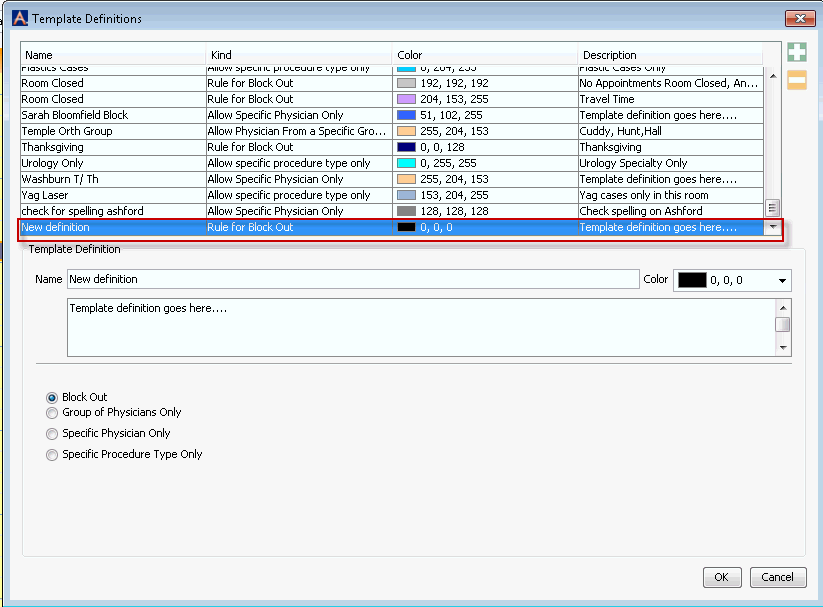
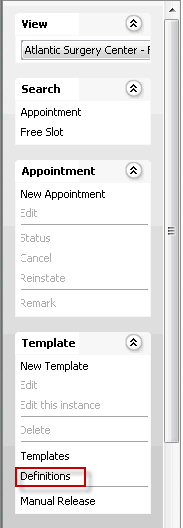
From the Template Sheet Bar headingTemplate Sheet Bar heading, click Definitions. The Template Definitions dialogTemplate Definitions dialog appears.


Click the Plus sign (upper right). A line is added to the list of Templates shown in the dialog.
Enter a name for the Template in the Name field (e.g. GI & Endo Appointment Types). In this step, you are naming the block, but not yet identifying where it goes on the Scheduling Grid. Because the Template can be assigned to different time periods as you reuse it, it is recommended that you avoid including a time reference in the name (e.g. do not name it "Wednesdays").
Choose a color for the Template from the drop-down list. The block of time covered by the Template will appear shaded in this color on the Scheduling Grid.
(Optional) Enter notes about the block in the free text field underneath the Name field.
Define the type of block by selecting the appropriate radio button:
-
This option “blocks” the schedule so no appointments can be booked during that time frame (e.g. during holidays).
Group Physicians OnlyGroup Physicians Only
This option allows you to set aside time for a group of physicians, so that appointments can be scheduled during that block for any physician in the Group. When you select this option, a list of physicianslist of physicians appears. To create a Group, select the check boxes next to the names of physicians you wish to include in the Group (e.g. physicians in the same practice may want to share a block).

Specific Physician OnlySpecific Physician Only
Use this option to reserve a block of time for a specific physician.
Specific Procedure Type OnlySpecific Procedure Type Only
This option allows you to create a block dedicated to a specific procedure type (e.g. Gastroenterology or Ophthalmology). Procedure types are set up in the Procedure Type dictionary in the Administration module.
-
Click OK. A new Template Definition is created and is available to add to the Grid. Click here to learn how to add a Template to the Grid.
Related Topics