Expiration Date Reached
The Inventory/Materials Management module enables you to identify Medical supplies or drugs that are close to or have reached their expiration date, so they can be used or removed from stock.
Note: Items that have an expiration date should be identified as such in the Supply Resource dictionary by checking the Expiration Date box. If this box is checked for an item, users will be required to enter the item's expiration date when the item is received, depleted or adjusted. Once the items has been referenced in this way in the system, the Expiration Date check box cannot be unchecked.
Prerequisite:
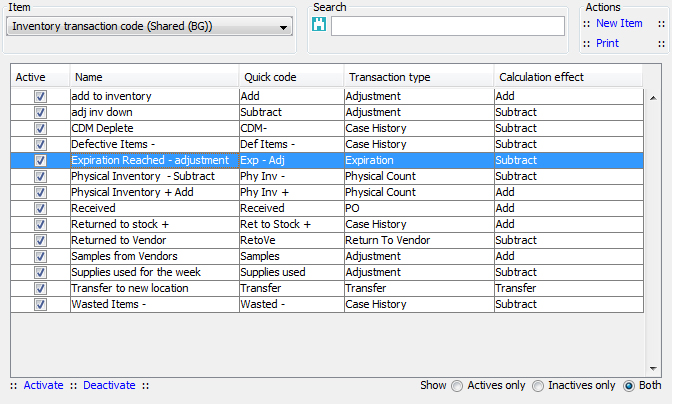
Ensure that Inventory Transaction CodesInventory Transaction Codes are added to the dictionary.

Adjusting the inventory for the items that have or will soon reach their expiration dates
From the Inventory Management module Sheet BarInventory Management module Sheet Bar, click Expiration Date Reached in the Adjustment section. The filter screen for expiration datesfilter screen for expiration dates appears.


Enter a date in the Expiration date field. The system will display a list of itemsa list of items that have expiration dates up to the date you entered. All of these items have a check mark in the E (expiration) column of the grid.

Highlight the item you would like to adjust and click the plus sign icon in the Adjustments section. A line is added to that sectionsection.

Select the Transaction Code to be used for the adjustment. These codes pull from the Inventory Transaction Code Dictionary.
Enter the quantity you would like to remove from stock and tab off of the field. The Transactions grid will display a new line that will show the Expiration Date field as mandatory.
Select the expiration date you would like to remove as well as the quantity and vendor.
The system will default the location to the Default location for the item. Adjust the location if necessary.
Click Commit to process the adjustment.
The system will display a warning messagewarning message if the total quantity listed in the Transaction grid does not equal the total quantity listed in the Adjustments grid. To correct the issue, adjust the amount entered in the Adjustments grid or the values entered in the Transaction grid, and then click Commit to process the transaction(s).

The system will display a summary screensummary screen so you can validate that the information you entered is correct.

If the information is correct, click Commit to complete the transaction.
If the information needs to be adjusted, click Back and make your modifications. Click Commit to return to the Summary screen and Commit again to post the transactions.
To view the results of the transaction, access the Item Master and enter the item name or quick code in the search field. Highlight the item in the Item Master list and click History.
Inventory Management Topics
- About Inventory Management
- Purchasing
- Performing Physical Inventory
- Making Inventory Adjustment
- External System
Related Topics