Scanning in Person Related Documents
In the Document Central module, you can scan in multiple documents related to a specific patient (Person Related documents).
For example, patient John Smith is being checked in for a procedure today, and at check-in we want to scan in his driver's license, insurance card, authorization letter, and a photo we have taken of Mr. Smith for our files. We could access the Demographics module and scan and attach each of these items from various sections of the screen, or we can open Document Central and scan and associate all items to the patient's account from here.
When you scan documents into Document Central, their status is Unassigned until you assign them to a specific location. See Assigning Scanned Person Related Documents.
To scan in a new person related document
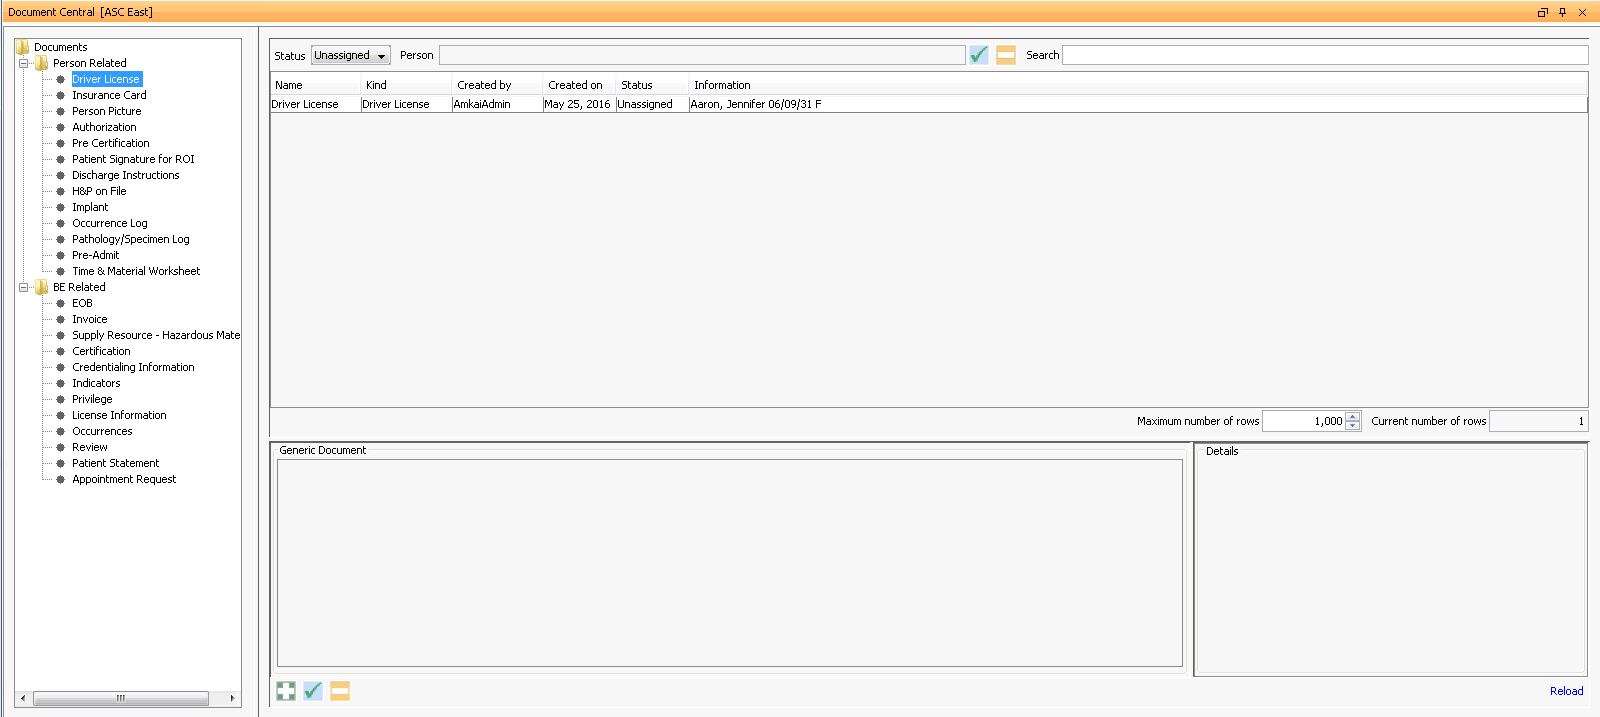
- Open the Document Central module. The module opens to the main
screenmain
screen. The tags
for various types of documents are listed in the left-hand pane on
this screen.

- Select the tag that identifies the document you are scanning in. For example, click Documents > Person Related > Driver License.
Note: Scanned documents that do not have specific system tags can be stored in the ROI tag. This area is easily accessible from the Demographics module and is account-specific, so all stored images will be available for viewing when the account is accessed. If you wish to use this area of the program to store images, select the Patient Signature for ROI tag when you scan the image into Document Central and add a Comment that includes the name of the document to make it easier to find all accounts with the same type of document attached to them.
- Click the
 next to Person
to Select
the patient from the MPI. The Patient’s Last Name, First Name,
Middle Name, Title, Date of Birth, and Gender will display in the
Person field.
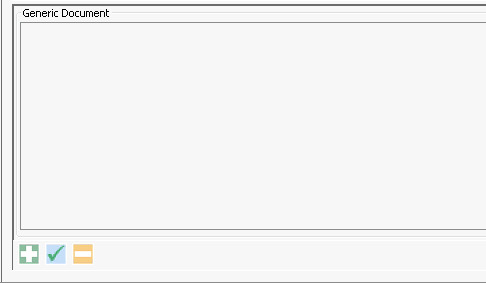
 - In the Generic
Document sectionGeneric
Document section at bottom left of the screen,
click
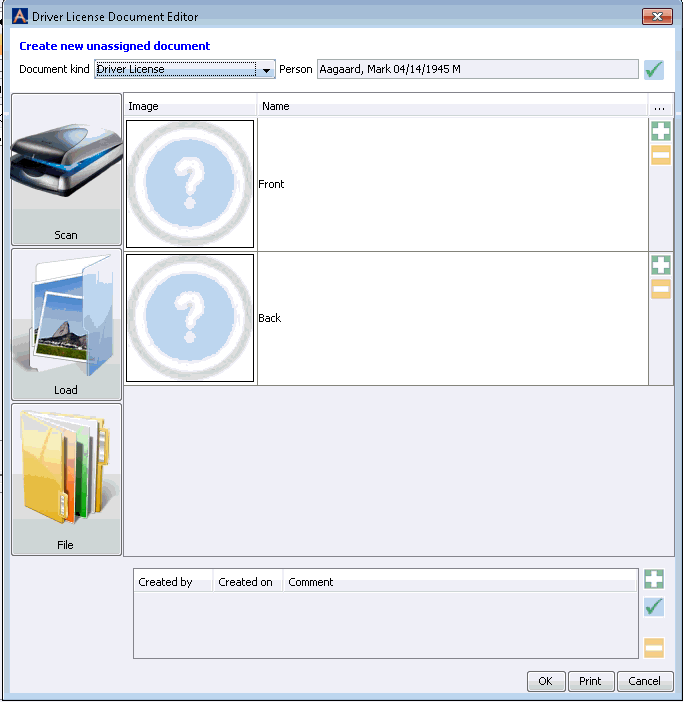
 to add a new document. The Document
Editor dialogDocument
Editor dialog appears.


Click here to learn how to use this dialog to scan in your document.
Note: When scanning documents you may want to query later, add a phrase to the Comments field that will be consistent across all patients within a select group. For example, if you want to be able to pull up all patients with a DNR scanned to their account, you can search for DNR in the comments and the system will pull all accounts with an image that has a comment that includes the letters DNR. Use this technique for other documents you scan so that you can easily search on accounts with related documents the same way.
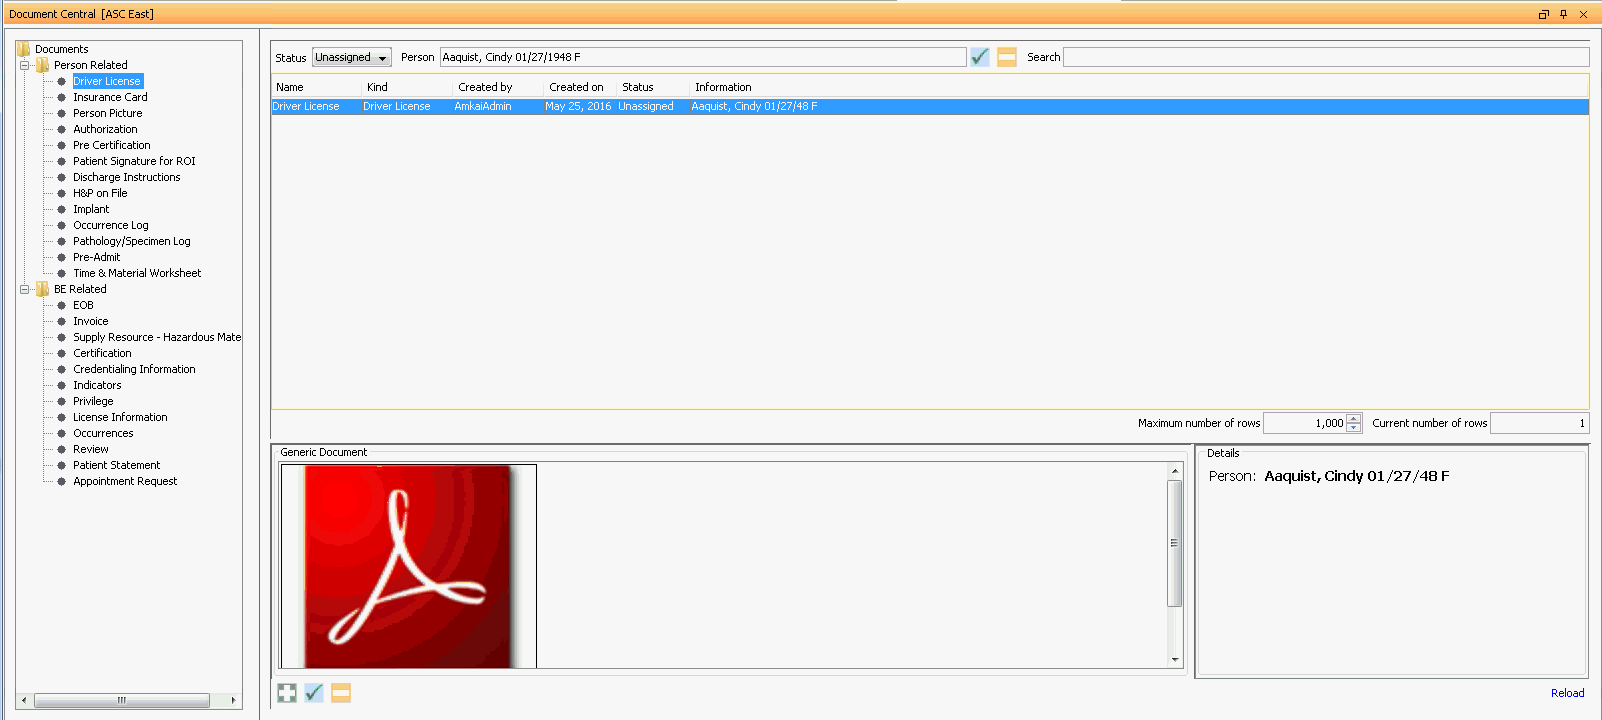
The document you scanned is now listed as a line item in the table at the top of the Document Central screenDocument Central screen. The table displays basic information about the document, including its Status, which is Unassigned.

When you highlight the document line item, the document's image appears in the Generic Document section at bottom left, and details about the image appear in the Details section at bottom right.
Repeat this process for each document you wish to scan for this patient.
Proceed to the next step: Assigning the document to a specific location in the system, so it can be viewed there. See Assigning Scanned Person Related Documents.