Assigning Scanned Person Related Documents
Documents scanned in from Document Central are Unassigned until you assign them to a specific system location. After you assign the documents, they can be viewed/accessed either from Document Central or from the system location to which you assign them, and their status in Document Central changes to Assigned. For more information, see About Document Central.
System Locations where you can assign Person Related documents
For each of the tags listed in the table below, go to the corresponding system location to assign the document.
| Document Kind (Tag) | System Location where you Assign the Document |
| Driver License | Demographics |
| Insurance Card | Demographics |
| Person Picture | N/A. Only viewable from Document Central. |
| Authorization | Demographics > Case > Verification |
| Pre Certification | Demographics > Case > Verification |
| Patient Signature for ROI (Release of Information) | Demographics |
| Discharge Instructions | CDM > Case > General |
| H&P on File (History & Physical) | CDM > Case > General |
| Implant | CDM > Case > General > Implant Log |
| Occurrence Log | CDM > Case > General > Occurrence Log |
| Pathology/Specimen Log | CDM > Case > General > Pathology Log |
| Pre-Admit (Ques/Instructions Given) | CDM > Case > General |
| Time & Material Worksheet | N/A. Only viewable from Document Central. |
To assign Person Related documents
- Open the module/screen in the system that the tag is associated
to.
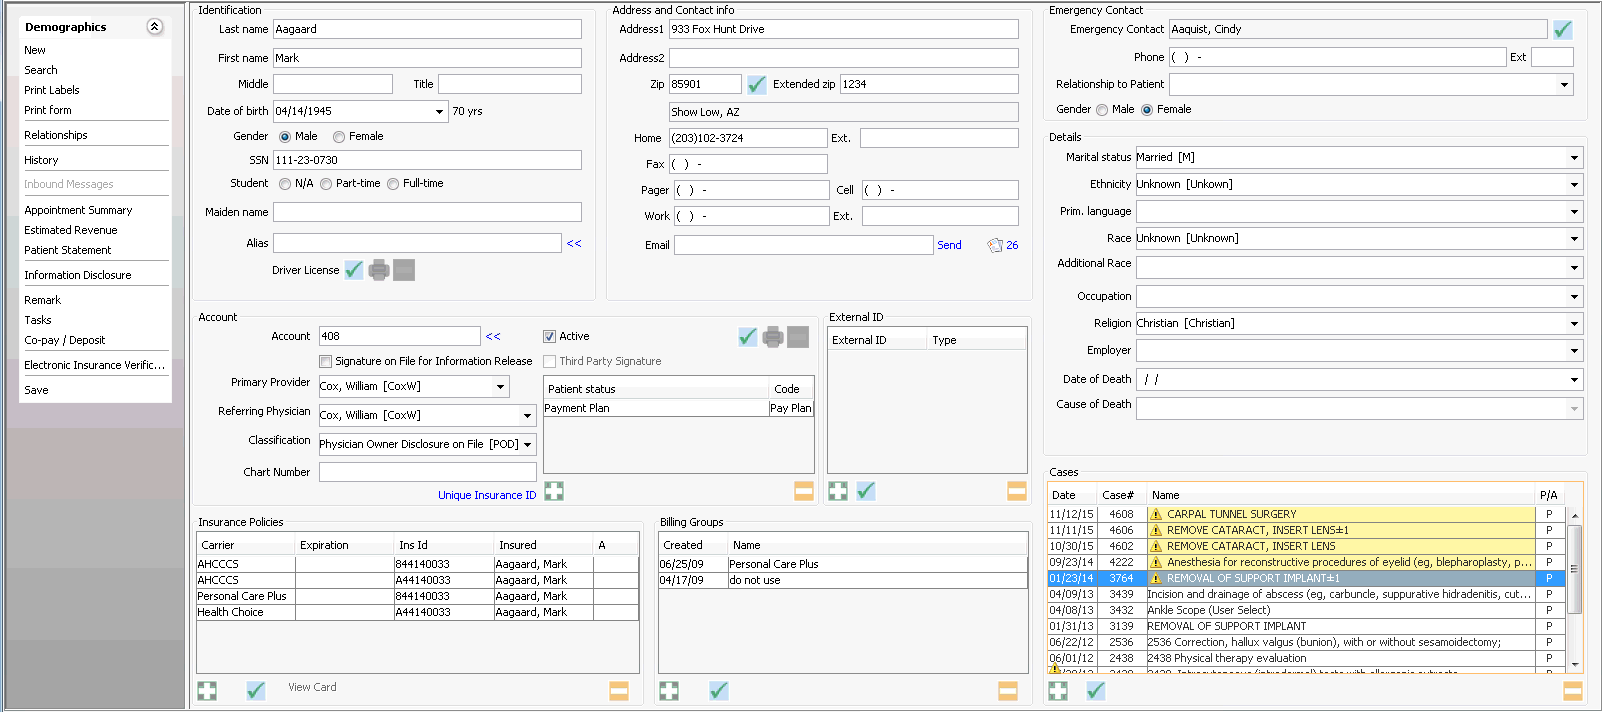
- For example, we need to associate a driver’s license to Mr... Aargard. To do that we will need to open the Demographics module and select Mr. Aargard from the MPI. The following steps relate to this example.
The Demographics screenDemographics screen launches. Click
 next
to Driver License in the Identification section.
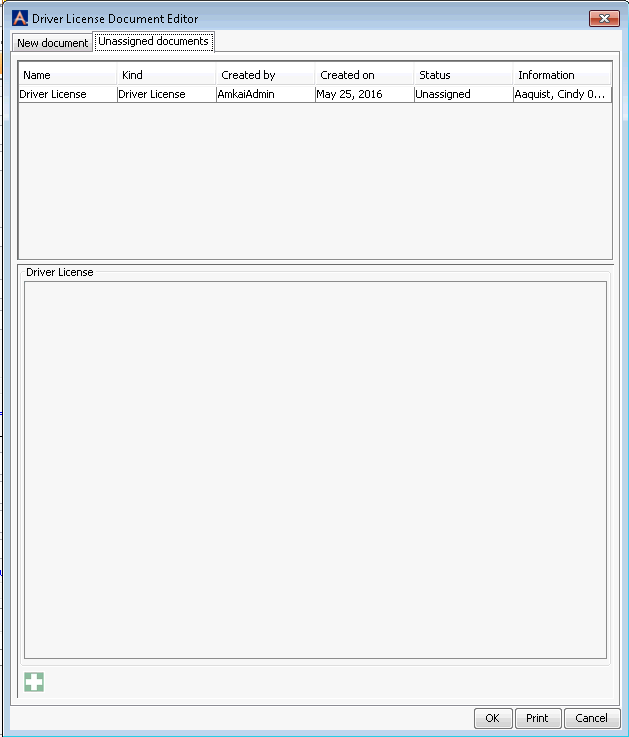
The system will open the Document EditorDocument Editor. The Unassigned document tab will be displayed as the active page.

Click on the line item for Driver License to view the associated scanned image.
Click OK.
The system will display a message, “Do you want to use selected document?”
- If the image is correct:
Click Yes to assign this image to the Driver License field, and then click Save from the Demographics Sheet Bar.
The Document Editor will close and the image will now be accessible from the Demographics screen.
- If the image is not correct, click No.
At any time you can click the New Document tab to scan a new image that will be assigned to this location instead of the one you previously scanned into Document Central.
Repeat this process for each of the unassigned images that have been scanned in Document Central that you wish to assign.
Note: You can only assign one document to a specific location. For example, if you scan two forms of identification for a patient, a driver's license and a college ID, you can only assign one of these to the Driver License area in Demographics. The other document will remain in Document Central, and can only be viewed there.