Setting Preferences in the Preference Editor
The instructions in this topic can be used for setting preferences for features in any module listed in the Preference Editor.
The settings for most features are self-evident. However, the settings for certain features may require further explanation. For more information on those settings, follow the links in the list below entitled, Special Instructions for Certain Modules.
Click here for some suggested practices for setting preferences.
General Instructions for Setting Preferences
Follow this procedure to set Preferences for any module:
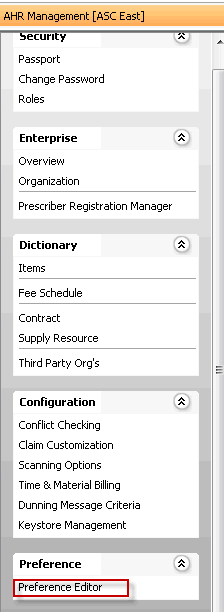
From the System Administration Sheet Bar, select Preference EditorPreference Editor. The Preference Editor Sheet BarPreference Editor Sheet Bar displays.


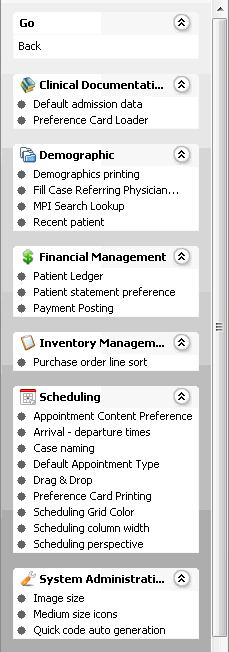
Select the feature you wish to edit under the heading of the module in which you wish to edit it. For example, Demographic > Demographics printing.
Select one of the tabstabs displayed across the top (User, User Group, etc.) that corresponds to the levellevel at which you wish to set preferences If, for example, you want to set a preference for the BE, click the Business Entity tab.
Preferences are applied in the following order:
- Default system settings (if no preferences at all are set)
- User level
- User Group level
- Business Entity level
- Work Group level
- Business Group level
- Enterprise level
Not all levels are available for setting preferences for all system features.

If a level is not available, no tab for that level is shown on the screen. (e.g. if you can't set preferences for the BE, there will be no Business Entity tab)
If no preferences have been set for a level, "No saved data" appears on the tab for that level.
If one or more preferences have been saved for a level, "There is saved data" appears on that tab.
The area below the tabs displays all settings that can be modified for the feature for which you selected to set preferences. In our example (see image linked to tabs in step 3), there are two settings that can be modified for Demographics printing:
Mask SSN on patient labels as xxx-xx-1234.
Mask SSN on patient forms as xxx-xx-1234.
Select one or more options to define your preferences at the level you selected. In our example, you could select the radio buttons for both options to have the patient's SSN masked on both patient labels and forms.
Click Save to apply the preferences you set on that tab, then click the next tab for which you wish to set preferences and repeat these steps.
If you wish to go back to the system defaults for any given level, click the Reset button for that tab.
Special Instructions for Certain Modules/Features
Setting Scheduling preferences (General)