Printing Appointment Labels
You can print appointment labels to use for your paper charts, wrist bands, etc. from either the Scheduling module or the Demographics module.
Note: The labels available vary based on which screen you access the Print Label feature from.
- From the Scheduling module, select or create the patient record (click here to learn how), then click Print Appointment Labels from the Utils (Utilities) heading on the Sheet Bar. Or,
- From the Demographics module, select or create the patient record (click here to learn how), then click Print Labels from the Sheet Bar.
- The Appointment Label Printing dialogAppointment Label Printing dialog appears.

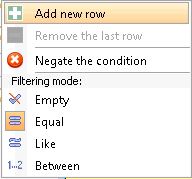
- Complete at least one of the following fields in the Filter Appointment List to narrow your search for the appointment. To apply further conditionsconditions to a search criteria, click the orange arrow beside the field:

- DateDate
Select a From and Through dateSelect a From and Through date to define a range time for your search. The From date must be today's date or later.
Use one of the following methods to populate a date field:
- Manually type a date in the field. You must use this date format: MM/DD/YYYY.
Or
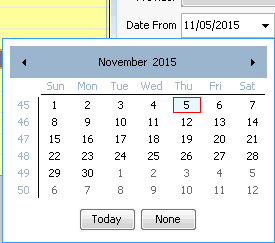
- Click the drop-down in the date field to access a calendarcalendar:

- Populate the date field by clicking a date on the calendar.
- Leave the field blank by clicking None.
- Navigate to a prior or future month using the arrows to the right and left of the month name.
- Click the month name to see a list of months and select the name of the month you wish to view from the list.
- Navigate to a prior year by clicking the year and using the up/down arrows to move forward or back one year at a time.
- Populate the field with today's date by clicking Today.
- Patient
The default is to print labels for all patients scheduled in the date range selected, so you do not have to enter anything in the Patient field. .
To print a label for a specific patient, type in the first several letters of the patient’s last name followed by * to pull up all names that begin with those letters, or use the yellow icon to add a parameter to select all patients From / Thru. Entering an alpha range to be included in the search.
- ScheduleSchedule
The default is to print labels for all Schedules, so you do not have to enter anything in the Schedules field.
To select only one schedule, type the name of the room in the Schedule field. NOTE: the name must be entered exactly as it appears in the Resource column of the Schedule Views. This may or may not be how it is displayed on the scheduling grid as the name on the grid can be changed in the Schedule View.
- Primary PhysicianPrimary Physician
The default is to include cases for all providers, so you do not have to enter anything in the Provider field.
To select case for a specific provider select the provider using the drop down menu.
- Search for...Search for...
Select from the drop-down list to search for either active or cancelled appointments.
- DateDate
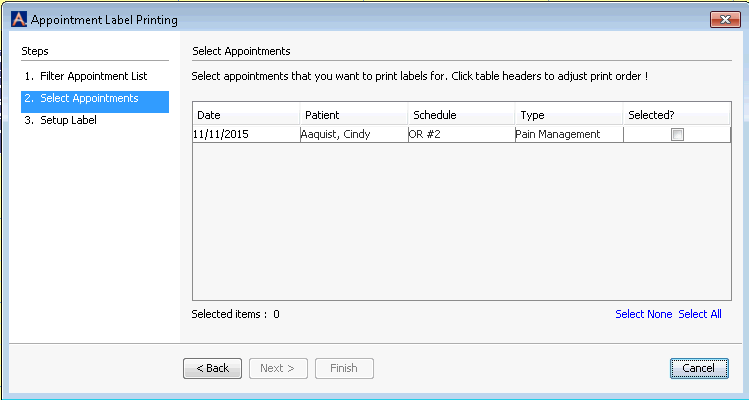
- Click Next. The Select Appointments sectionSelect Appointments section appears on the right. Your search results are listed in this section.

- Choose one of the following options:
- Choose a single appointment by selecting the Selected? check box.
- Select None
- Select All
- Click Next. The Setup Label sectionSetup Label section appears on the right. Select a template for your labels using the drop-down list.

- Typically, sheets of labels come with 10 rows and 3 columns (30 labels to a sheet), but you can print a partial sheet and later use the rest of that sheet by selecting a row and column at the Start at field.
- Select a number of copies to print. This field refers to copies of a single label, not sheets.
- If, for example, you choose to print labels for more than 1 patient, and you want 15 copies/labels for each patient, if you do not choose any other option, 30 labels will print all on one page, 15 for 1 patient and 15 for the other. If you select Separate pages and Print same item immediately, you will get 2 pages. 1 with 15 labels for patient 1 and another with 15 labels for the other patient. If you deselect Print same item immediately, you will get 15 pages with 1 label for each patient on each page.
- Select one of the following options:
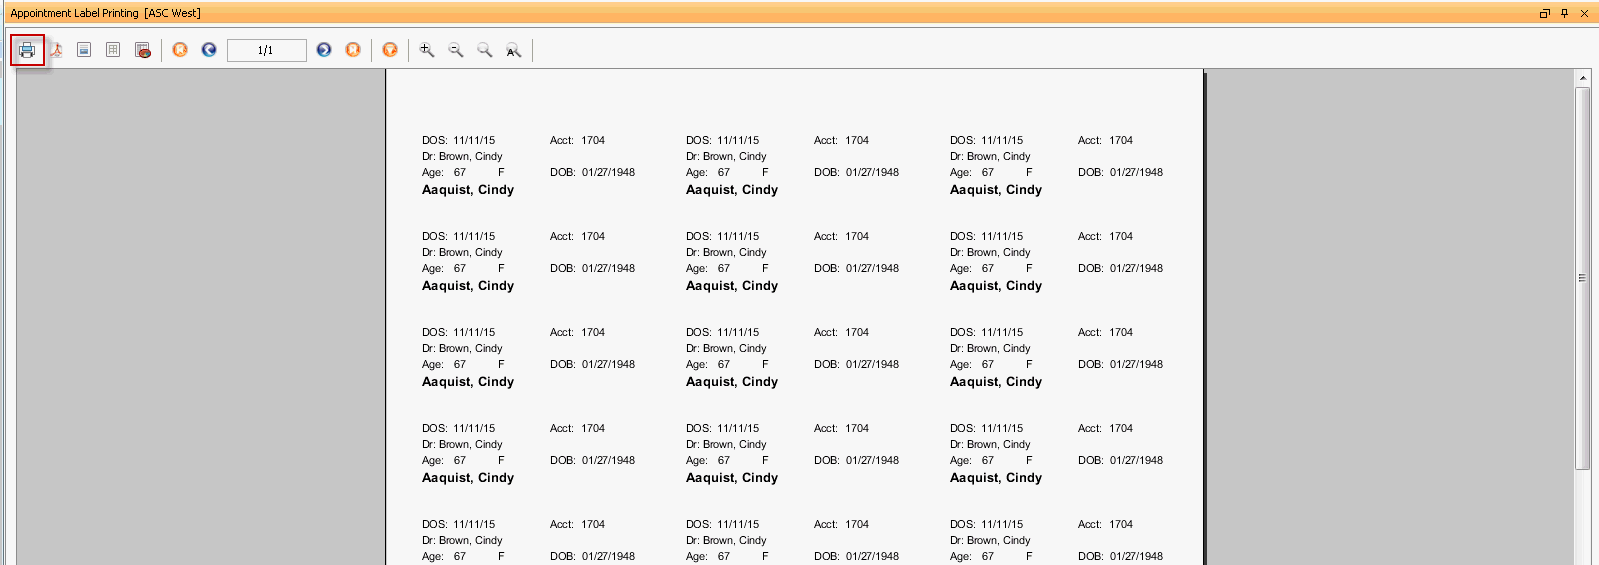
- Print (again): Displays a print preview as a tab in AmkaiOffice. The Setup Label dialog remains on screen, so you can review the labels, and make changes to the layout before printing. Click the print icon to print the labels.
- Finish. A print previewprint preview appears in a pop-up window. If you want to make changes to setup, you must reopen the Setup Label dialog. From this preview window, click the print icon to print the label.
