Generate On Demand Claim
If you would like to print a paper claim on-the-fly from the RCM Ledger, use the On Demand Claim option, available from the menu that appears when you right-click a charge from the RCM Ledger.
This option is typically used during the collections process to generate a claim for a self pay patient, an attorney or for an insurance carrier. This option will only produce paper claims and should not be used if you want to generate the claim electronically.
To Generate an On Demand Claim
- Right-click a charge from the RCM Ledger and select Generate On Demand Claim. To select multiple charges, use Click + Ctrl.
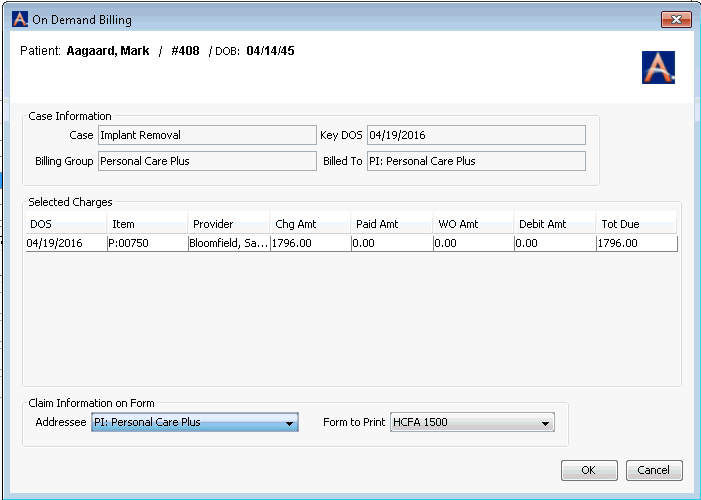
The On Demand Billing dialogOn Demand Billing dialog appears. Case Information displays in read-only fields at the top of the dialog. The current role responsible for the charge(s) is shown in the Billed to field. The charge(s) you selected from the RCM Ledger are displayed under Selected Charges.

Select the Addressee from the drop down menu in the Claim Information on Form section. Options in this menu include all carriers who are part of the Billing Group and the Primary and Secondary Guarantors.
Select the Form to Print from the other drop down menu.
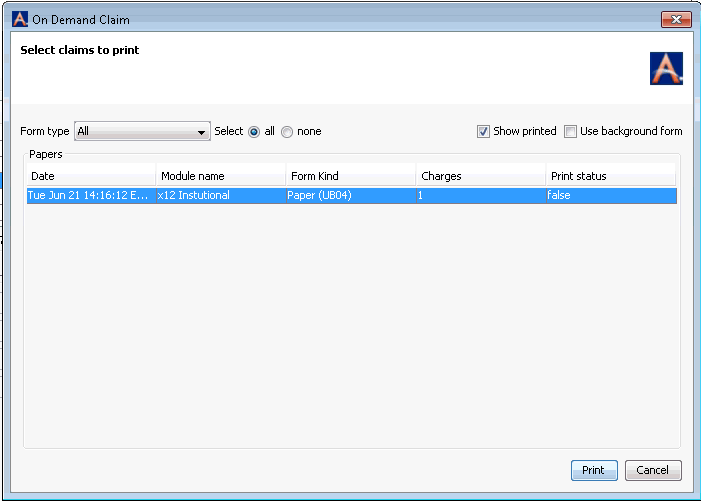
Click OK to process the claim. The Select claims to print dialogSelect claims to print dialog appears.

This dialog lists the claim that was generated. Click herehere to learn about the fields that pertain to the claim.
Date: Displays the date and time that will be used for the bill date if charges are marked as Billed
Module Name: Displays the EMC dictionary item that could have been used for the claim
Form Kind: Displays the type of form that the claim will be printed on
Charges: Displays the total number of charges that will appear on the printed claim
Print Status: Displays False when the claim has yet to be printed, and True when the claim has been printed
- Select from these
fieldsthese
fields on Select claims to print dialog to choose
the form type and other printing options.
Form Type: Select the form to print one form type at a time: HCFA 1500 or UB04. Select the form type and then click Print, then select the other form type and click Print.
Select All: Highlights all displayed charges, so you can print all of them (only the highlighted charges will print)
Select None: Highlights none of the displayed charges. You can then highlight individual charges from the list to print.
Show Printed: When checked, claims that have already been printed will still be displayed, when unchecked, only claims that have not been printed will be displayed
Use Background Form: When checked, will print the background of the claim form (for use if printing on plain white paper to display the background of the claim form). This printout is not intended to be used for processing claims and should not be mailed to a payor for reimbursement.
- Click Print. Select
the parameters for your print job from the print dialog and click
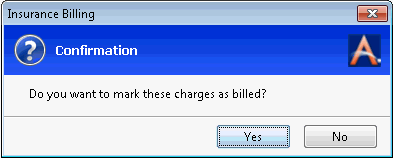
OK. A confirmation
messageconfirmation
message appears asking if you want to mark the
charges as billed.

- Select one of the following options:
- Click Yes
to mark the charges as Billed.
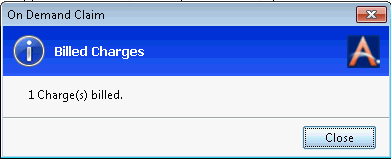
(A confirmation
messageconfirmation
message confirms the total number of charges
billed.)

- Click No. The charges will not be marked Billed.
- Click Yes
to mark the charges as Billed.
(A confirmation
messageconfirmation
message confirms the total number of charges
billed.)
The system will record a Remark for the charge(s) in the RCM Remark screen indicating that an On Demand Claim was generated, who the claim was sent to and the dollar amount of the transaction included on the claim.