Add Remark
You can add a remark to a transaction from the RCM Ledger from the context (right-click) menu. Remarks are Transaction-specific. You can also set a new RCM Date when adding a remark from the right-click menu option. However, you cannot read the remarks attached to the transaction using the right-click menu option.
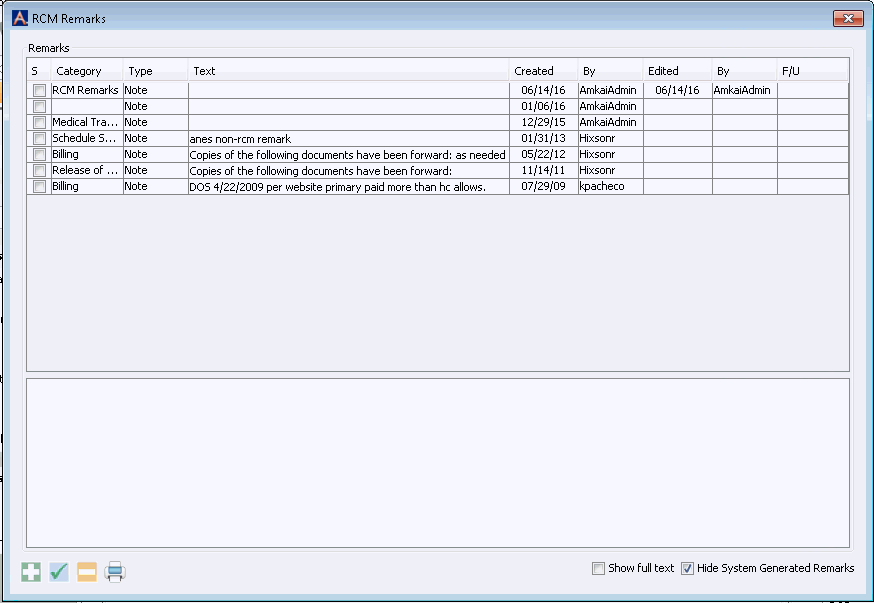
To read all remarks attached to a Transaction, open the Remarks dialog by selecting a specific Transaction, then clicking Remarks from the RCM Ledger Sheet Bar.
To add a new Remark to a Transaction
-
From the RCM Ledger, do one of the following:
-
Right-click the Transaction to which you wish to add the Remark and select Add Remark. In the dialogdialog that appears, or
 .
. -
Highlight the Transaction and select Ledger Option > Remarks. The full version of the Remark dialogRemark dialog appears. To add a new remark, click
 . Click herehere to learn other things you can do on this dialog.
-
-
You can read all remarks attached to this Transaction by deselecting the Hide System Generated Remarks check box.
-
To edit a remark, select it and click
 .
. -
To delete a remark, select it and click
 .
. -
To print a remark, select it and click
 .
.
-

-
-
-
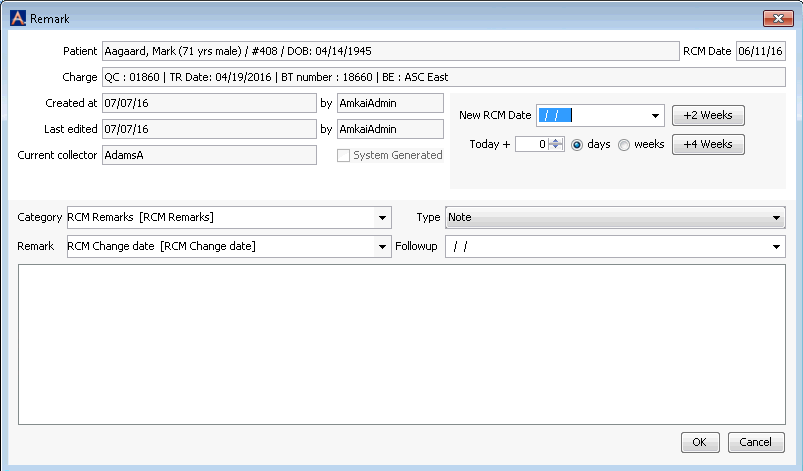
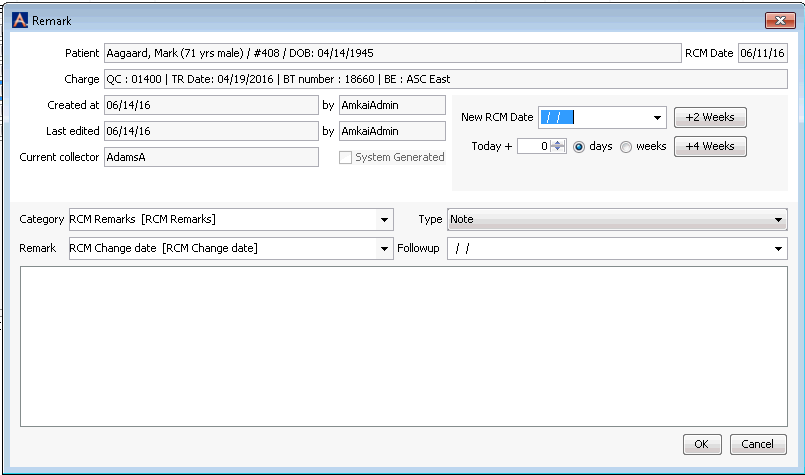
The Add Remark dialogAdd Remark dialog appears.

-
(Optional) You can add a new RCM Date from this dialog:
-
-
New RCM Date: Manually enter a new date or click on the down arrow to access the calendar.
-
+2 weeks: Advance the date to two weeks from current date ( this is actual days not business days)
-
+4 weeks: Advance the date to four weeks from current date
-
Today + (number) days: Advance the specified number of days from today
-
Today + (number) weeks: Advance the specified number of weeks from today
-
-
-
Select a Category for the Remark. The system will default the category to the one set in the Configuration settings.
-
Select a Remark if you wish to use one of the pre-defined Remarks entered in the Remarks Dictionary. Use the Alt + E or Alt + D hot keys to jump to the Remarks Dictionary to add a new Remark.
-
Select a Type. The system will default to Note. Options are:
-
Selecting Comment will provide a way to categorize Remarks for reporting purposes. For instance, you could label internal Remarks as Comments, so that you could filter the Remark List report by Comments to see all internal Remarks.
- NoteNote
This is the most typical Remark type. A Remark labeled as a Note will not appear automatically each time the patient record is pulled up as it would if it were labeled Important.
- ResolvedResolved
This option can be used to indicate that an ongoing issue has been resolved. Changing an Important Note to Resolved stops it from appearing each time the Patient record is pulled up.
-
- Enter a Follow-up date if you would like one referenced on the Remark. The Remarks Report can be run by follow up date.
- Enter free text into the field provide.
- Click OK to save the Remark.