Transfer
Inventory Transfer
If you have items that are located in more than one location and need to move the quantity on hand from one location to another, you can use the Transfer option in the Inventory Management to execute this task.
Note: There must be a quantity on hand for the item you wish to move.
Prerequisite:
Ensure that Inventory Transaction CodesInventory Transaction Codes are added to the dictionary.
![]()
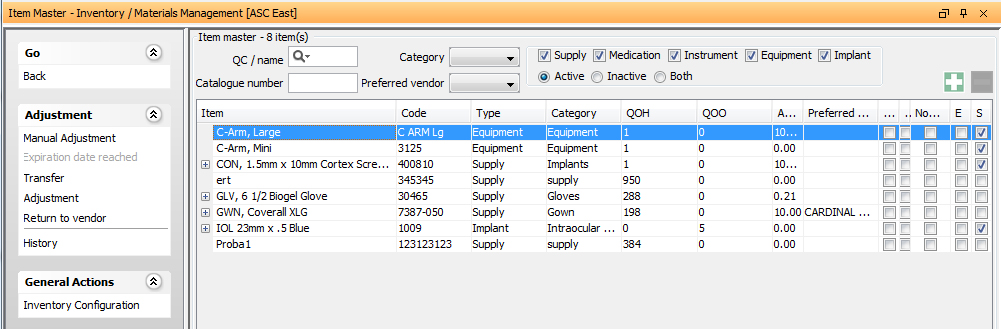
Open the Item Master.Item Master.
Creating a new location:
- In the Item Master select the item to which you wish to add the location.
- Click
 in the Location infoLocation info section of the Item Master page.
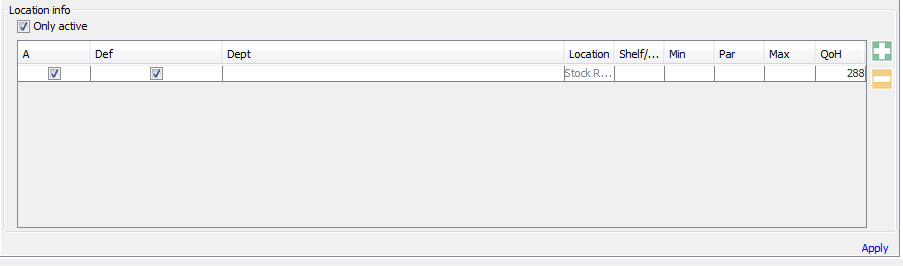
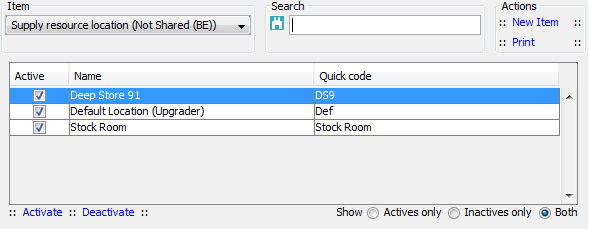
- Select the Location you would like to add for the item from the drop-down list. You should have added locations on the Supply resource locationSupply resource location prior to doing this.
- Location is a mandatory field when a new line is added. If you do not select a location the system will present an error message when you save the screen.
- Enter any additional information such as Shelf / Bin.
- Click Apply to save the changes.
Note: There can only be one Default location on file for any item. If you would like to make the new location the default for this item click in the box labeled Def (default) to select this location as the default.
Transferring supplies
- After the item has at least two active locations on file, you can transfer all or part of the quantity on hand.
- Select the item from the Item Master which you want to transfer either part or all of it to another location.
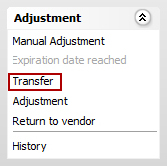
- Adjustment section is displayed in the sheet bar options.
- Click Transfer.Transfer. The TransferTransfer dialog is displayed.
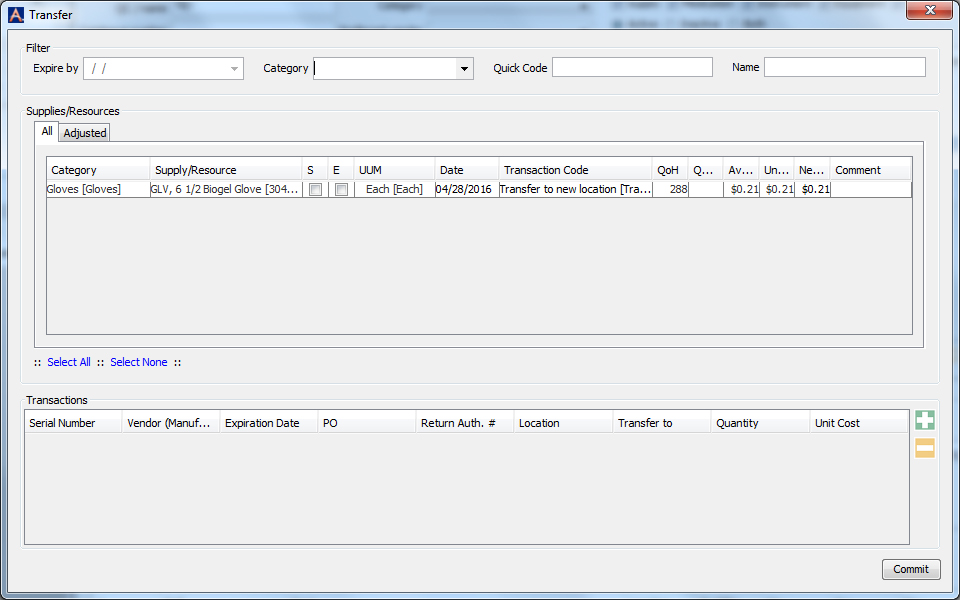
- In the Supplies/Resources section Date field, change the date of transfer if the default date (today's date) is not the date of the transfer.
- Select a Transfer Code if the default code is not what you would like to reference for the transaction.
- Enter the quantity to move to the new location in the Quantity field. You may transfer all or part of the quantity on hand.
- Modify the New Unit Cost field if necessary. This is the cost that will be associated to the transferred quantity.
- Enter free text comment in the Comment field.
- After you make all needed entries in the Supplies/Resources table, click in another area of the screen. A line will appear in the Transactions section.
- Enter the current location of the item in the Location field.
- Enter the location to which the item will be transferred in the Transfer to field.
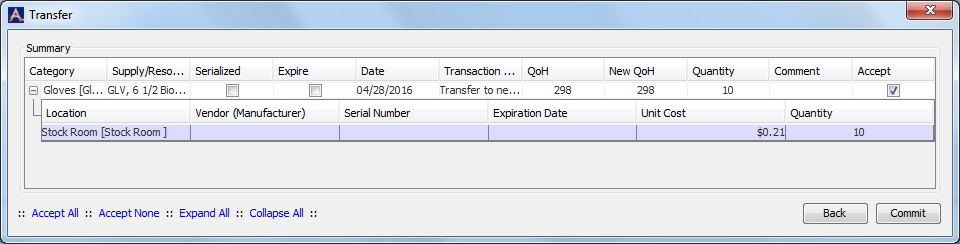
- Click Commit.
- The system will display the confirmation window to verify the change of the data.
- If all is correct select CommitCommit to save the changes. If you need to make adjustments to the information click Back.
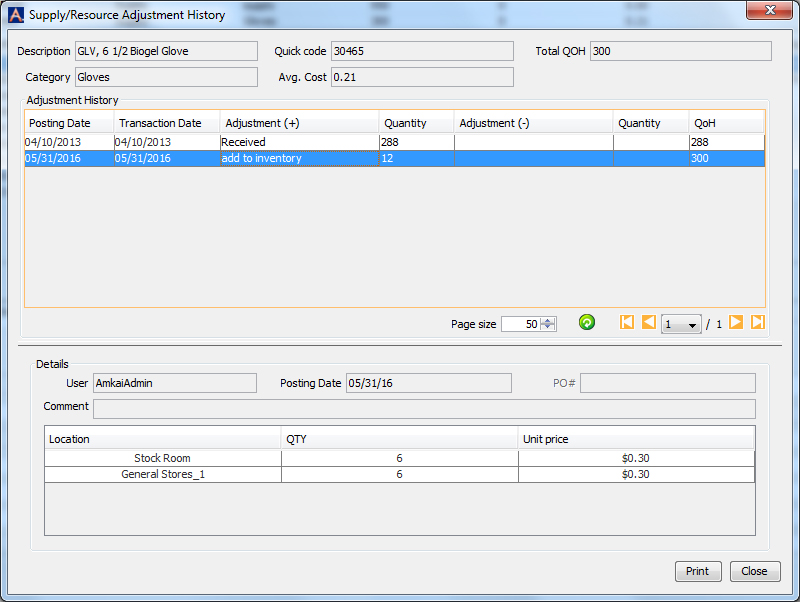
- Click History in the Adjustment section to view the changes on the Supply/Resource Adjustment HistorySupply/Resource Adjustment History dialog.
Inventory Management Topics
- About Inventory Management
- Purchasing
- Performing Physical Inventory
- Making Inventory Adjustment
- External System