Manual Adjustment
Adjusting the values of an item in Inventory Management module
Open the Item MasterItem Master, by clicking Item Master under the General Heading on the Inventory Management Sheet Bar.
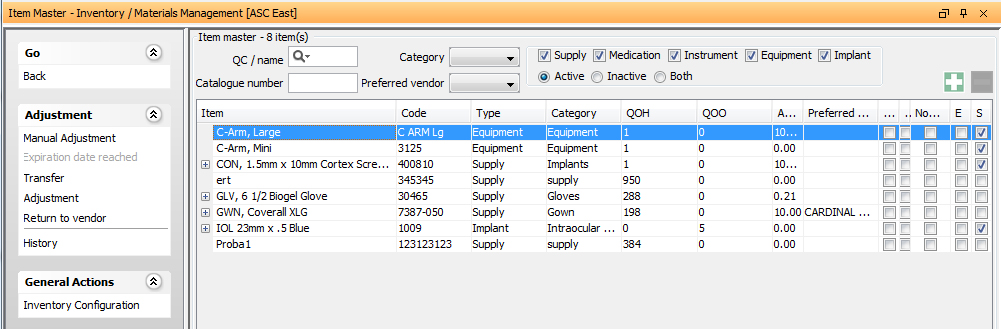
Select the item, the values of which you want to adjust.
The Adjustment section is displayed in the Sheet Bar options.
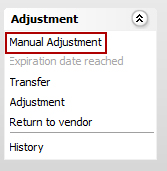
Click Manual AdjustmentManual Adjustment from the Sheet Bar. The AdjustmentAdjustment dialog is displayed.

In the Supplies/Resources section, adjust the Transaction Code as required (add or subtract).
(Optional) Change the date to the desired effective date of the Adjustment.
Enter the current quantity on hand in the field New QoH. The value you enter here will display as the current Quantity on Hand for the item.
Enter a unit cost in the New Unit Cost field for the item.
Note: This step is important for items that are being added to the inventory. If no value is entered here, the system will assume a value of 0.00 which could cause issues for billing and reporting.
(Optional) Enter a free text explanation for the adjustment in the Comment field. The comment will be displayed in the Item History along with the adjustment transaction.
Once the values are modified, tab off of the field. The new values are displayed in the Transactions section of the screen.
The Quantity field will display the number of units needed to be either added or subtracted to the current quantity on hand to reach the number of units entered in the New QoH field above. The Unit Cost field will also reflect the value that will be assigned to these units. If a value was entered in the New Unit Cost field it will be displayed here. If no value was entered in the New Unit Cost field you can still indicate here what cost should be associated to the new items.
Click Commit to continue with the adjustment. A Summary screen displaying your adjustments appears.
Review the Summary screen and do one of the following:
If you are satisfied with the adjustments shown on the Summary screen, click Commit to save your adjustments and return to the main Item Master screen, where your adjustments will now be reflected.
If you wish to change any of your entries, click Back to return to the previous screen.
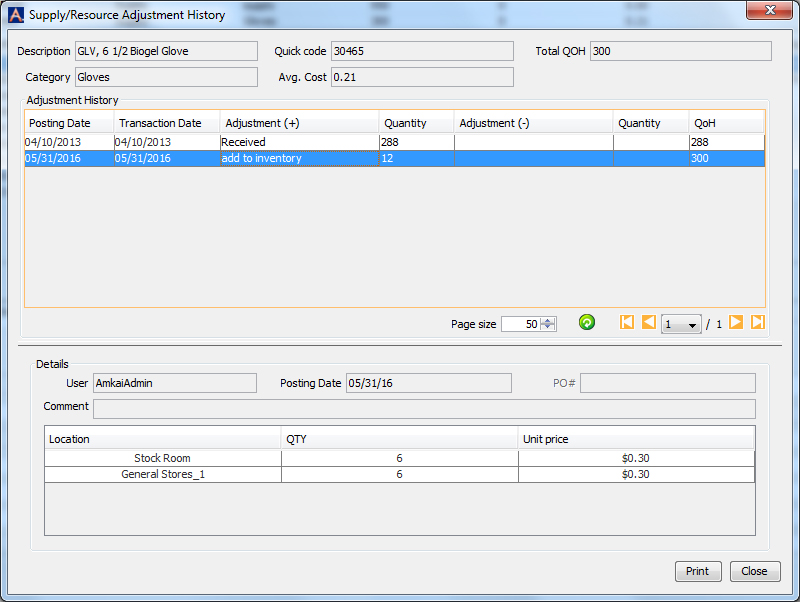
Click History in the Adjustment section to view the changes on the Supply/Resource Adjustment HistorySupply/Resource Adjustment History dialog.
Inventory Management Topics