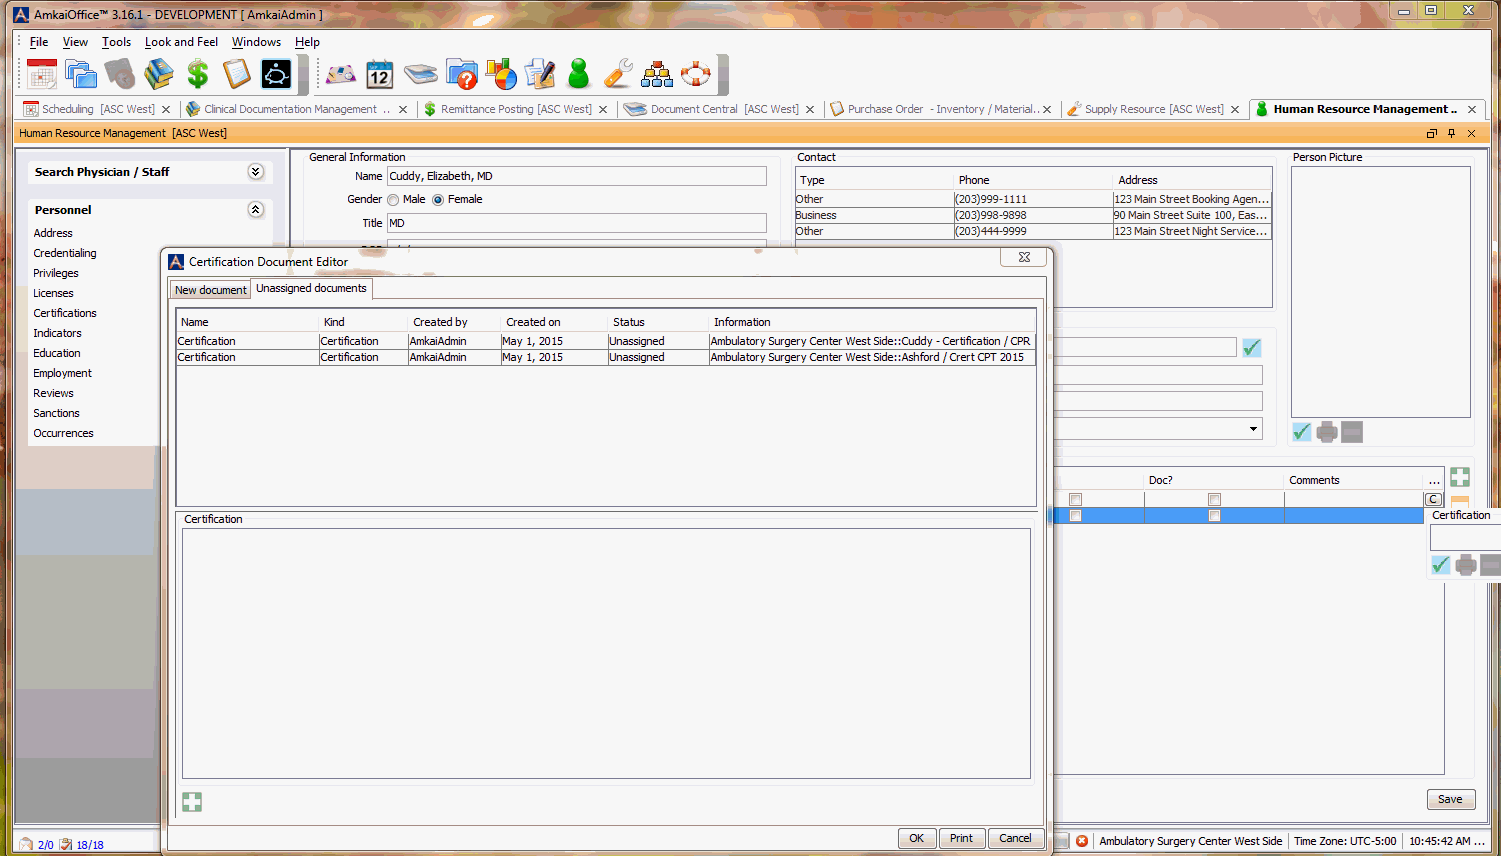
Scanning in Business Entity (BE) Related Documents
In the Document Central module, you can scan in multiple documents related to the Business Entity. Different from Person Related Documents, BE Related documents relate to the BE rather than a specific patient. Examples include: EOBs, Invoices, and physician credentialing information.
The tags for various types of BE Related documents are listed in the left-hand pane on the screenscreen that appears when you open Document Central.
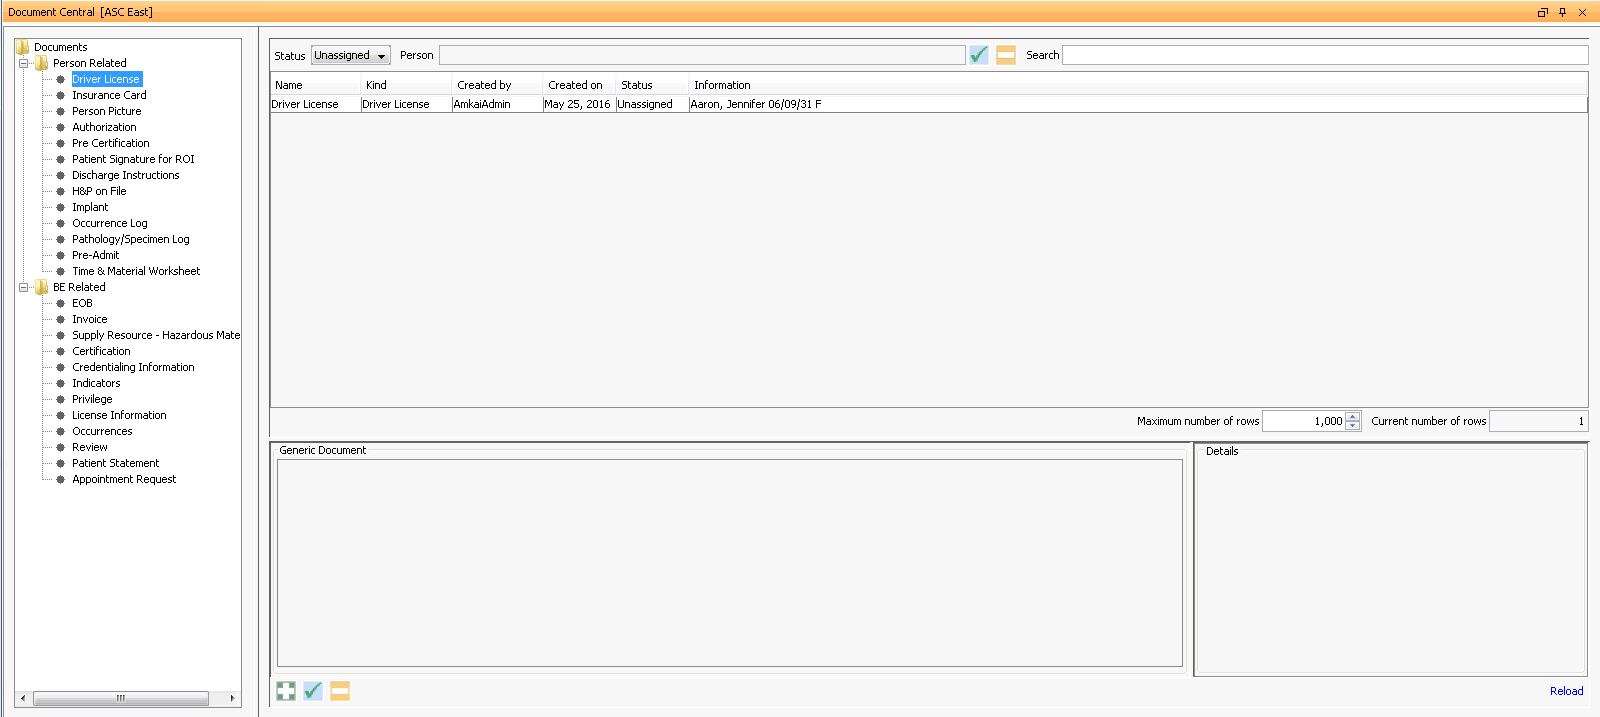
When you scan documents into Document Central, their status is Unassigned until you assign them to a specific location.
Note: You can only assign one document to a specific location, so if you have multiple documents that you want to assign to a location, scan it as a multi-page image rather than as multiple documents.
To scan in a new BE related document
- Open the Document Central module. The module opens to the main screenmain screen.

- From the Documents list on the left-hand side, select the tag that identifies the document you are scanning in. For example, Documents > BE Related > Privilege.
-
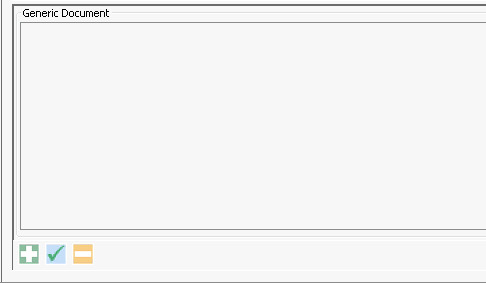
In the Generic Document sectionGeneric Document section at bottom left of the screen, click
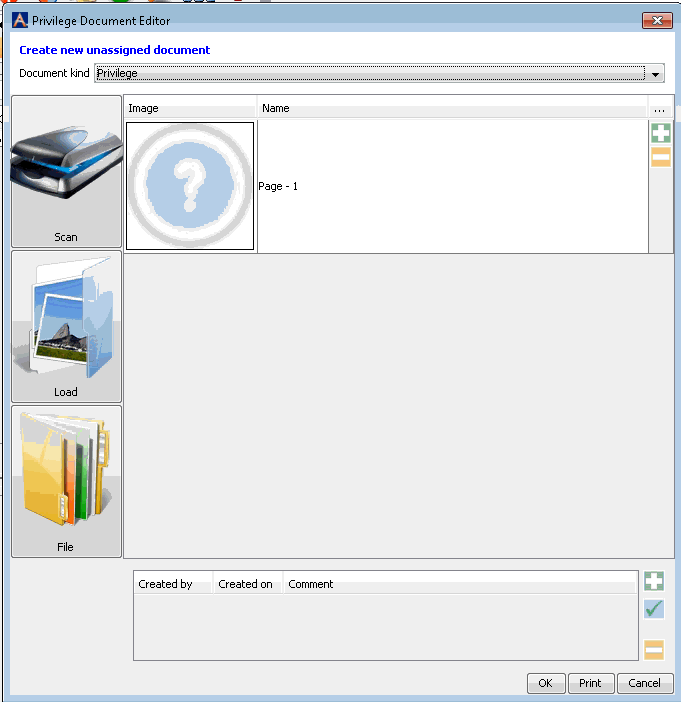
 to add a new document. The Document Editor dialogDocument Editor dialog appears.
-
Click here to learn how to use this dialog to scan in your document.
Note: If you wish to be able to later search on a group of similar documents you are scanning in, enter text in the Comments field that will make it easy for you to later search for them. For example, if you wish to be able to search on all EOBs related to Medicare, enter the word, "Medicare" (or other common text of your choice) in the Comment field in each Medicare related EOB you scan in.
- The document you scanned is now listed as a line item in the table at the top of the Document Central screenDocument Central screen. The table displays basic information about the document, including its Status, which is Unassigned.
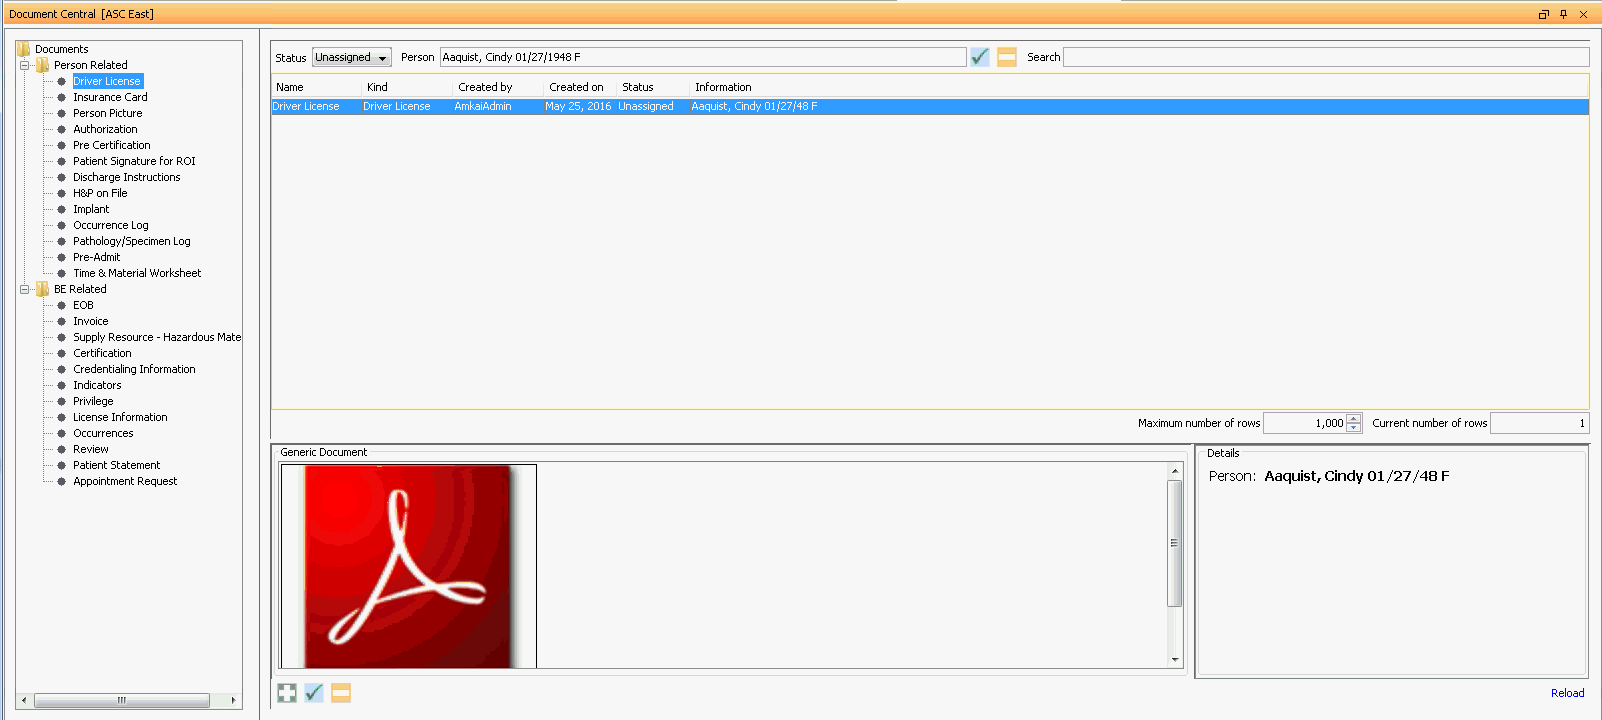
- When you highlight the document line item, the document's image appears in the Generic Document section at bottom left, and details about the image appear in the Details section at bottom right.
-
Proceed to the next step: Assigning the document to a specific location in the system, so it can be accessed from there. In our example described above, you would assign the document to Financial Management > Remittance Posting. The document Status would then change to Assigned. See Assigning Scanned BE Related Documents.

Click the links below for tips for using Document Central to manage key BE Related documents:
- EOB (Explanation of Benefits)EOB (Explanation of Benefits)
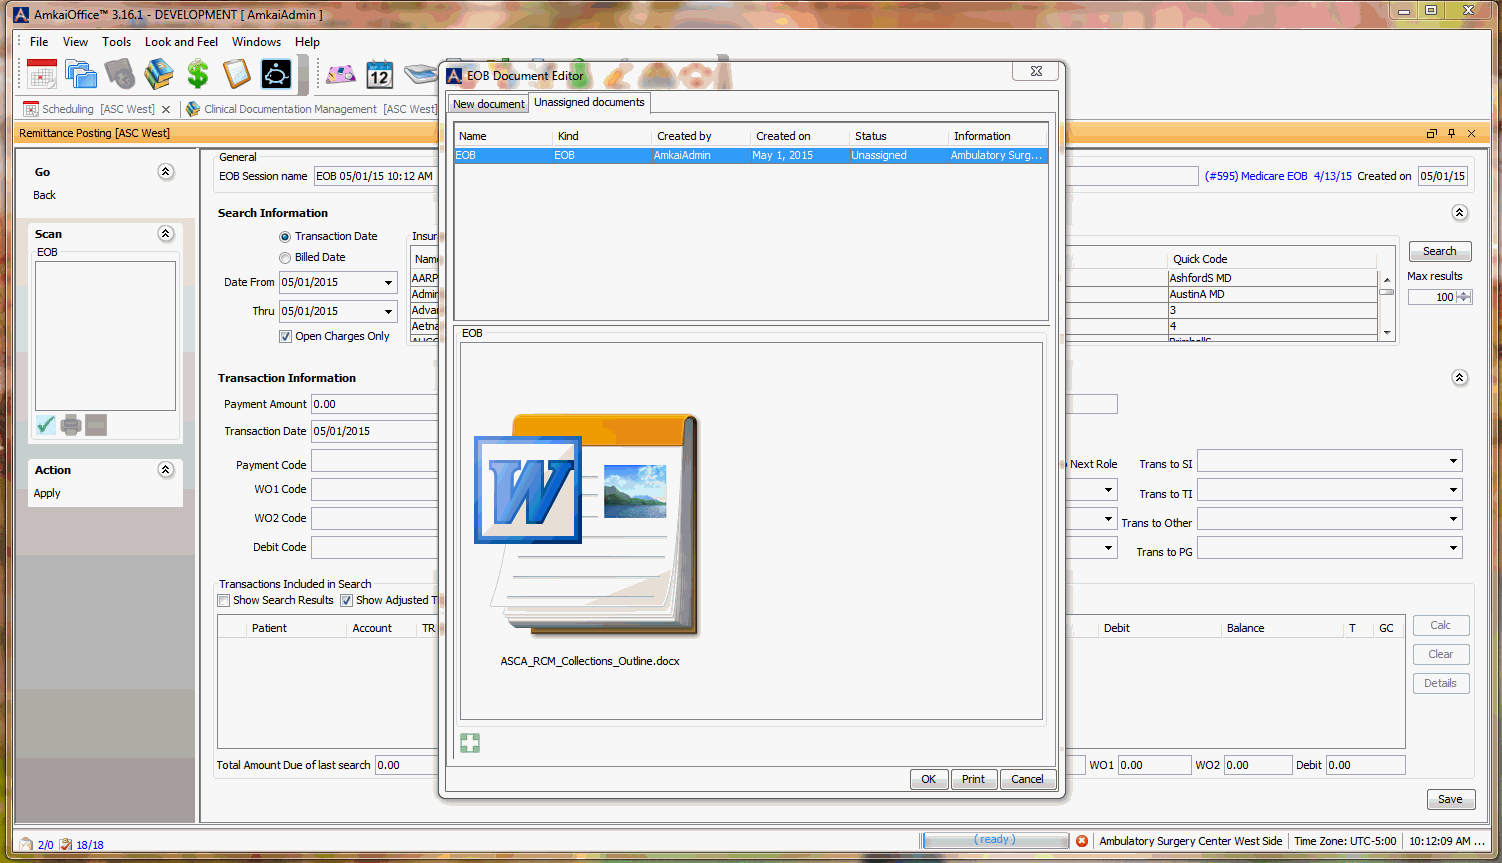
There are several ways you can manage EOBs. The EOB tag is associated to the Financial Management option, Remittance Posting. If you scan the EOB in from a specific Remittance Posting session, it will be visible from Document Central when you click on the EOB tag. Conversely, you can also scan an EOB from Document Central and associate it to the Remittance Posting screen using the option described here: Assigning Scanned BE Related Documents.
Another way to manage EOBS is to scan all EOBs using the EOB tag in Document Central and leave them as Unassigned. Be sure to add text in the comment field that will make it easy for you to search for specific EOB’s. Example: All EOBs specific to Medicare should include the word Medicare in the comment field. When you want to look at all Medicare EOBs, you can type Medicare in the search field and the system will display all EOBs with this text in the comment field.
- InvoiceInvoice
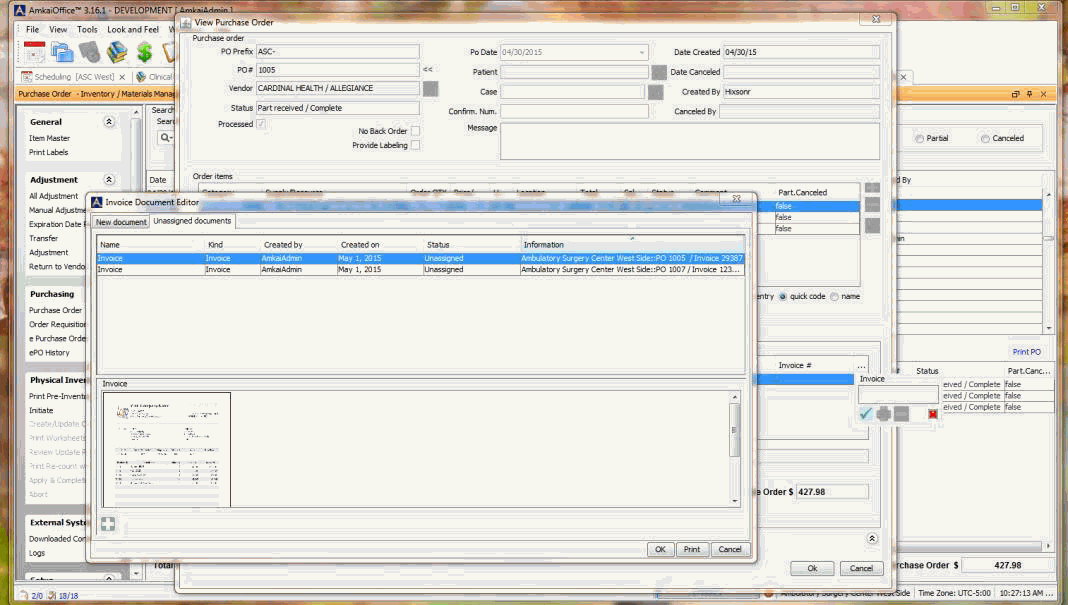
Invoices are associated to purchase orders. They can be scanned in Document Central and then associated to specific orders in the Inventory Management module.
- Hazardous MaterialHazardous Material
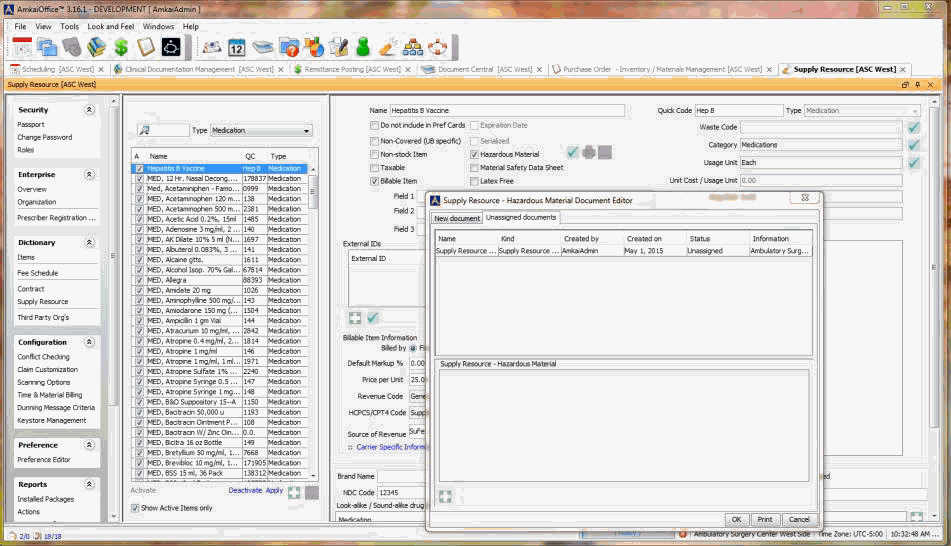
Material Safety Data Sheets can be scanned in Document Central and then associated to their respective supply resources in the Supply Resource Dictionary. Unassigned items can remain in Document Central with the Item Quick Code referenced in the Comments for easy search/retrieval.
NOTE: After associating the Hazardous Material sheet to the supply be sure to click on Apply to save the change.
- Human Resource Related documentsHuman Resource Related documents
Certification, Credentialing Information, Indicators, Privilege, License Information, Occurrence and Review are all associated to Staff and Physicians through the Human Resource (HR) module. It can be helpful to scan documents in Document Central when you are scanning a large number of documents for many physicians/staff members at one time. You can then associate the items to the specific physicians/staff in the HR module as needed. Be sure to include information in the comment field on who the physician/staff member is to make it easy to associate each document to the correct person.
Assign an Unassigned document to a physician/staff in the Human Resource module by clicking on the specific page that has the associated tag on it, then click on “C” to attach the image.
