Assigning Scanned Business Entity (BE) Related Documents
Documents scanned in from Document Central are Unassigned until you associate them to a specific system location. After you assign the documents, they can be viewed either from Document Central or from the system location to which you assign them and their status in Document Central changes to Assigned. For more information, see About Document Central.
System Locations where you can assign BE Related documents
For each of the tags listed in the table below, go to the corresponding system location to assign the document.
| Document Kind (Tag) | System Location where you Assign the Document |
| EOB (Explanation of Benefit) | Financial Management > Remittance Posting > EOB |
| Invoice | Inventory/Materials Management > Purchase Order > Invoice |
| Supply Resource – Hazardous Material | Supply Resource > Haz Material |
| Certification | Human Resource > Certification |
| Credentialing Information | Human Resource > Credentialing |
| Indicators | Human Resources > Indicators |
| Privilege | Human Resources > Personnel > Privileges |
| License Information | Human Resources > Licenses |
| Occurrences | Human Resources > Occurrences |
| Review | Human Resources > Review |
| Patient Statement | Financial Management > Patient Statements |
| Appointment Request | Demographics > Appointment Requests |
To assign BE Related documents
- Open the module/screen in the system that the tag is associated
to (see the 2nd column from the right in the table above).
- For example, we need to associate privileges to Dr. Abduhl. To do that we will need to open the Human Resources module and pull Dr. Abduhl's record to the screen.
- Select Personnel > Privileges from the Sheet Bar.
In the Application Information section, click the check mark icon next to Approve Date.
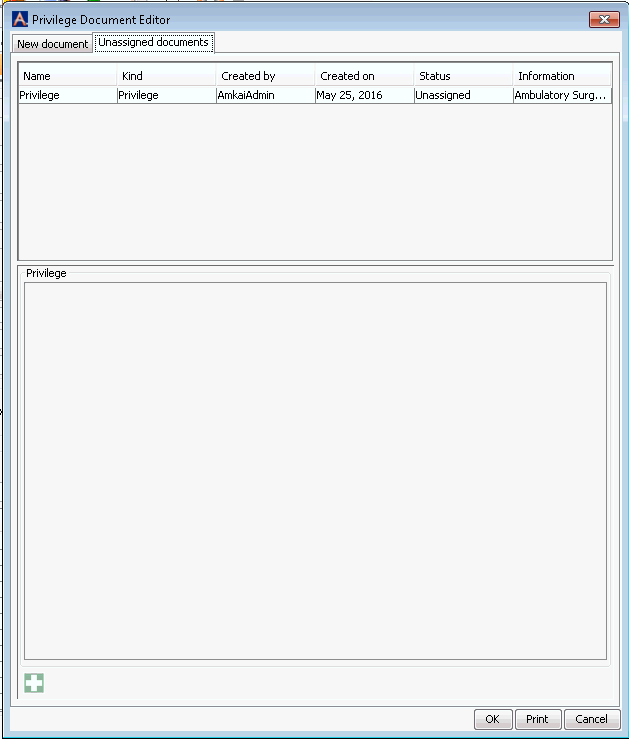
The system will open the Document EditorDocument Editor. The Unassigned document tab will be displayed as the active page.

Click on the line to view the associated scanned image.
Click OK.
The system will display a message, “Do you want to use selected document?”
- If the image is correct:
Click Yes to assign this image to the Approve Date field, and then click Save at bottom right of the screen.
The Document Editor will close and the image will now be accessible from the Demographics screen.
- If the image is not correct, click No.
At any time you can click the New Document tab to scan a new image that will be assigned to this location instead of the one you previously scanned into Document Central.
Repeat this process for each of the unassigned images that have been scanned in Document Central that you wish to assign.
Note: You can only assign one document to a specific location, so if you have multiple documents that you want to assign to a location, scan it as a multi-page image rather than as multiple documents.