Printing Forms for a Group of Patients
The Group tab on the Form Printing dialog enables you to run/print reports/forms for multiple patients grouped by criteria such as overdue balance and billing activity and/or date of last payment. Using this tab, you can only print items related to each patient’s most recent appointment. If you wish to print items for multiple appointments for a patient, use the Individual tab on the Form Printing - Demographics dialog.
Note: Using the Group tab, you can only print items related to each patient’s most recent appointment. If you wish to print items for multiple appointments for a patient, use the Individual tab on the Form Printing - Demographics dialog.
To print forms for a group of patients
- Open the Demographics module.
- From the Sheet
BarSheet
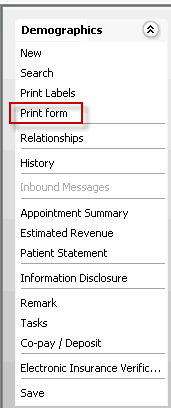
Bar, click Print
Form. The Form
Printing - Demographics dialogForm
Printing - Demographics dialog appears.
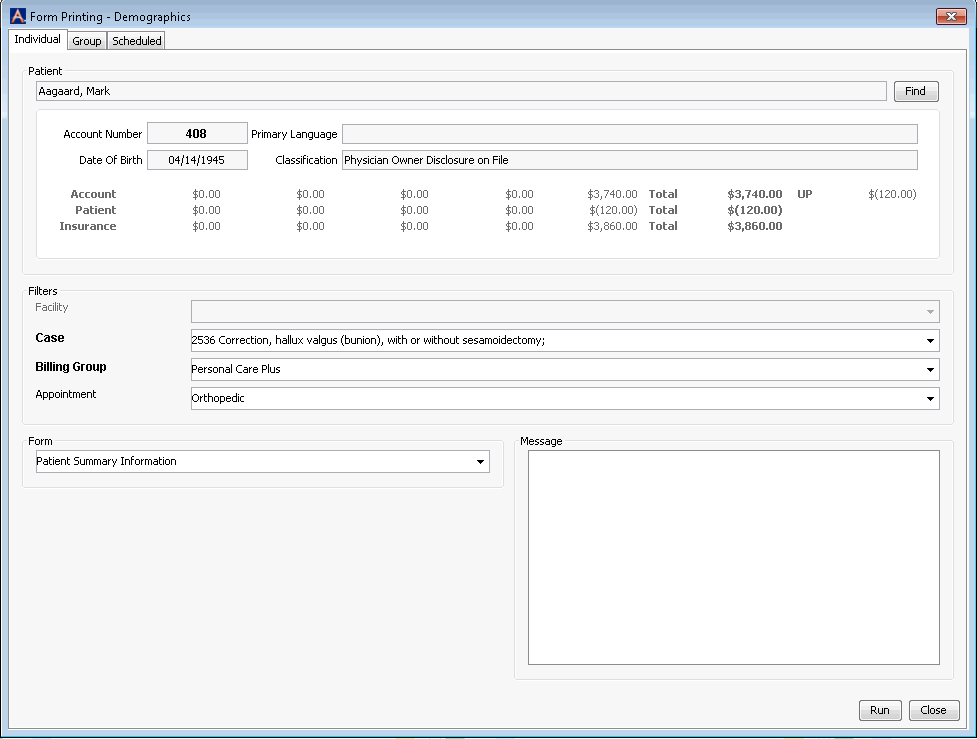
- Select the Group tabGroup tab.
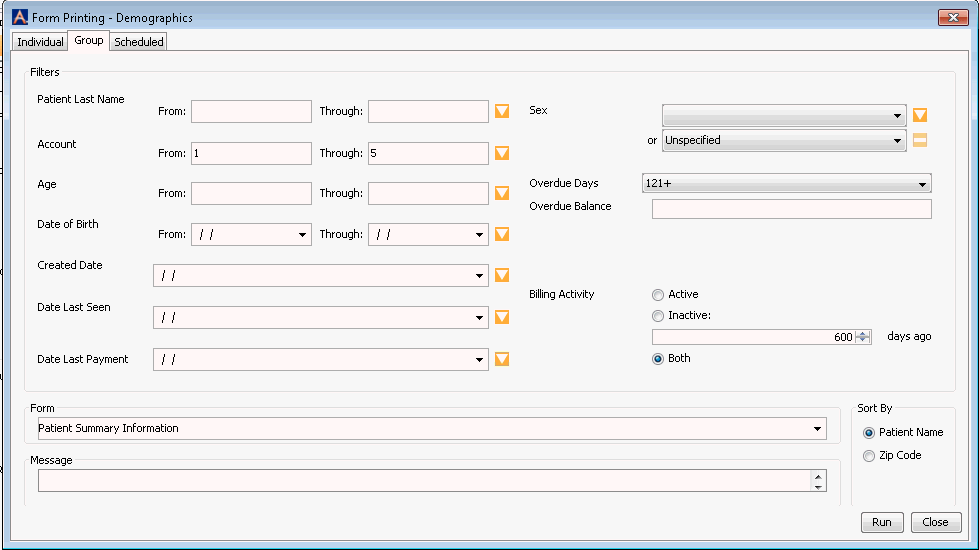
- Use one or more1 of the filters in the filters section to search
for patient records to populate the form. The more filters you use,
the more specific your report results will be. Clicking the orange/white
down arrow next to the filter fields enables you to search with greater
flexibility.
- Patient
Last NamePatient
Last Name
You can type all or part of a last name in the From and Through fields. For example, you can type Aargard in From and Baker in Through, or you can type A in From and B in Through.
- AccountAccount
Type beginning and ending account numbers (or the initial digits of those account numbers) to define a range to display on the form.
- AgeAge
Type beginning and ending ages to define a range of patients to display on the form. For example, enter 35 and 50 to show all patients within that age range.
- Date
of BirthDate
of Birth
You can enter a specific date to show all patients born on that date, or use the orange down arrow to define a date range.
- Created
DateCreated
Date
You can enter a specific date to show all patients whose records were created on that date, or use the orange down arrow to define a date range.
- Date
Last SeenDate
Last Seen
You can enter a specific date to show all patients last seen on a particular date, or use the orange down arrow to define a date range.
- Date
Last PaymentDate
Last Payment
You can enter a specific date to show all patients by date of last payment, or use the orange down arrow to define a date range.
- SexSex
Select the Sex to narrow your range of results to Male, Female, Unspecified or click the orange/white arrow and click Add New Row to show a combination of Unspecified and one of the two sexes.
- Overdue
DaysOverdue
Days
Select a range of Overdue Days from the drop-down list. You can use this field in combination with the Overdue Balance field to limit your results to patients who owe at least the amount you enter, or leave it blank to show all patients with balances overdue by the number of days selected.
- Overdue
BalanceOverdue
Balance
Use this field in combination with the Overdue Days field. Type a dollar amount (no dollar sign) to limit your results to only those patients who owe at least that amount.
- Billing
ActivityBilling
Activity
You can specify whether you want to see patients with Active or Inactive billing activity or both, and the number of days ago billing activities occurred.
- Patient
Last NamePatient
Last Name
- Select the type of form from the Form drop-down list:
- Patient
Summary InformationPatient
Summary Information
Includes information on the patient's demographics, insurance policies, and account balance
- Patient
Summary Information w/o AgingPatient
Summary Information w/o Aging
Includes all information on the Patient Summary Information except the account balance
- Patient
Summary Information with Financial ResponsibilityPatient
Summary Information with Financial Responsibility
Includes all information on the Patient Summary Information except the account balance. Also includes a Release of Benefit and Information and Patient Financial Responsibility statement with a space for signatures.
- Patient
Summary Information with SignaturesPatient
Summary Information with Signatures
Includes information on the patient's demographics, insurance policies, and account balance with a place for signatures attesting to the accuracy of the information on the form
- Procedures
(Modified) - Patient Summary Information with SignaturesProcedures
(Modified) - Patient Summary Information with Signatures
Includes information on the patient's demographics, insurance policies, and account balance and information about the procedure(s) with a place for signatures attesting to the accuracy of the information on the form. The procedure description does not include the procedure code.
- Procedures
Patient Summary InformationProcedures
Patient Summary Information
Includes information on the patient's demographics, insurance policies, and account balance and information about the procedure(s), including the procedure code, with a place for signatures attesting to the accuracy of the information on the form.
- Procedures
- Patient Summary Information with SignaturesProcedures
- Patient Summary Information with Signatures
Includes information on the patient's demographics, insurance policies, and account balance and information about the procedure(s), including the procedure code, with a place for signatures attesting to the accuracy of the information on the form.
- Patient
Responsibility Information with SignaturesPatient
Responsibility Information with Signatures
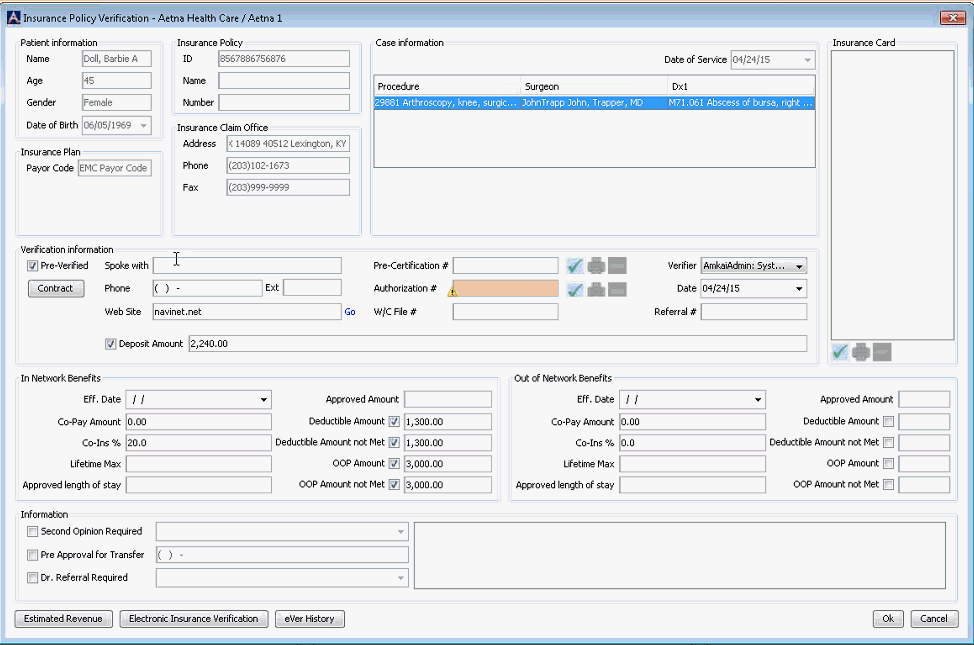
This is a letter informing the patient of the estimated amount he or she is responsible to pay based on the information provided by the surgeon and insurance carrier with places for signatures. The amount printed on the form is pulled from the Deposit field on the Insurance Verification dialogInsurance Verification dialog.
- WHO Surgical
ChecklistWHO Surgical
Checklist
Surgical Safety Checklist from the World Health Organization. The form includes the patient's name, case date (date of service) and signature line/date.
- In the Message box, type any note you would like to add to the form. Your note will appear at the bottom of the form. The note will not appear on the WHO Surgical Checklist.
- Select the appropriate radio button to sort your report by Patient Name or Zip Code.
- Select one or more items from any
of the filters from the bottom of the dialog to further refine the
selection criteria. To clear any of the filters, click the None
button.
- Insurance Carrier
- Case
PhysicianCase
Physician
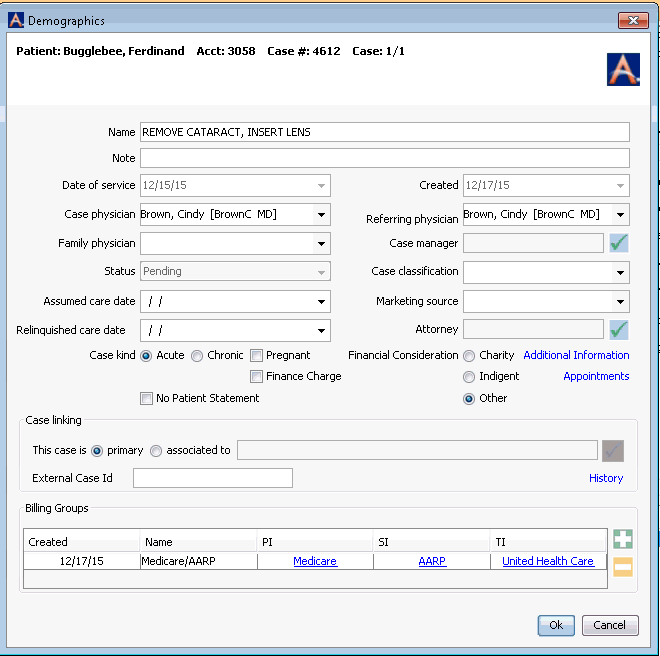
Case Physician is set on the Case Details dialogCase Details dialog.
- ClassificationClassification
Classification is set in the Account Details sectionAccount Details section on the patient’s Demographic screen.

- StatusStatus
Status is set in the Account Details sectionAccount Details section on the patient’s Demographic screen.

- Click Run. On the dialogdialog
that appears, select the output format for the report: PDF or Tab
and click OK:
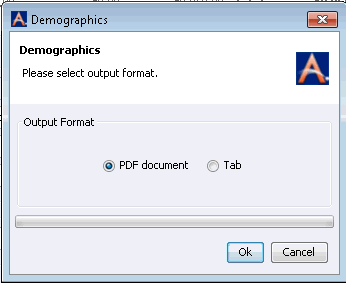
- If you select PDF, the document appears in a separate window. Click the print icon to print the form.
- If you select Tab, the form replaces the Demographics screen in the application. Click the print icon to print the form.