Roles
Your organization will create Roles in AmkaiOffice that include specific system privileges and assign those roles to one or more users (assign roles using the Security > Passport Sheet Bar option.) Each user inherits all the privileges assigned to his/her role in the system, and only those privileges. Assigning roles is a way to limit users to only those system tasks that they are authorized and trained to do.
Note: This use of the term "role" is different from the use of "role" in the Staff Role dictionary, where "role" refers to the part the staff member plays in the perioperative process. (e.g. PACU Nurse)
To create a new role or edit an existing one
-
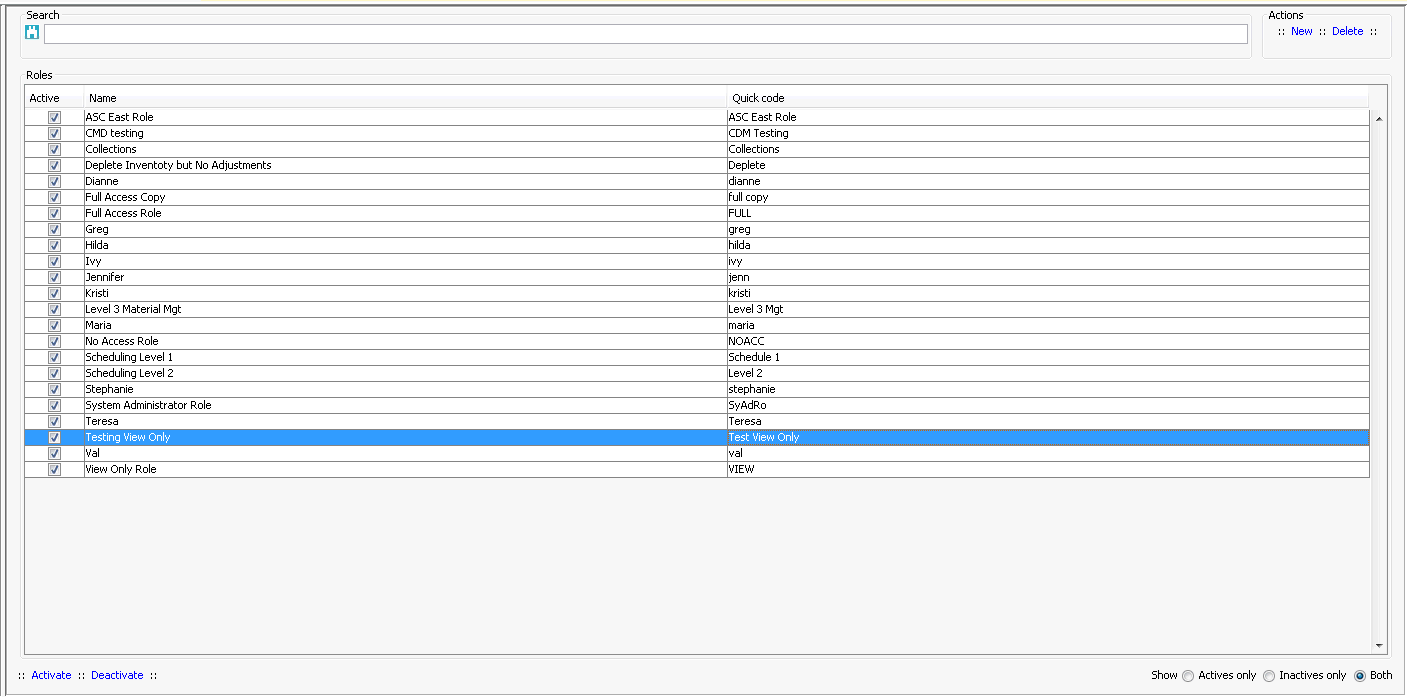
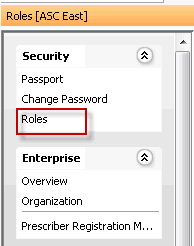
From the System Administration module Sheet Bar, select Security > RolesSecurity > Roles. The Roles pageRoles page appears.


-
Under Actions in the upper right of page, click New. The Edit new Security Role itemEdit new Security Role item dialog appears.

-
Enter a Name and Quick Code for the new role.
-
Assign system privileges to the new role using the options in the Checkpoints section of the dialog:
-
In the Checkpoint column, all AmkaiOffice modules are listed. To view the actions users can take in a module (AKA privileges), click the plus sign beside the module name. Click the plus sign beside privileges to view related privileges.
-
Use the Expand all and Collapse All buttons to view/hide all privileges.
-
The basic privileges are Create, Modify, Delete, and View Only.
-
To add a privilege to the role, check the box in the appropriate column next to the privilege.
-
If you check Full Access next to a module name, all privileges needed to perform all functionality within the module will automatically be checked.
-
To copy all privileges to the new role from an existing role that is very similar, click Copy From. Select the role to copy from the drop down menu. Click Copy. All privileges of the existing role are now inherited by the new role. Use the check boxes next to specific privileges to add or remove them.
-
-
Select one of the following:
-
Save and done to save the role and return to the Roles page
-
Save and New to save the role and create another new role
-
Cancel to discard your changes and return to the Roles page
-
-
To edit an existing role, double-click it to launch the same dialog described here and check and follow the procedure described above.
Related Topics