Group Billing
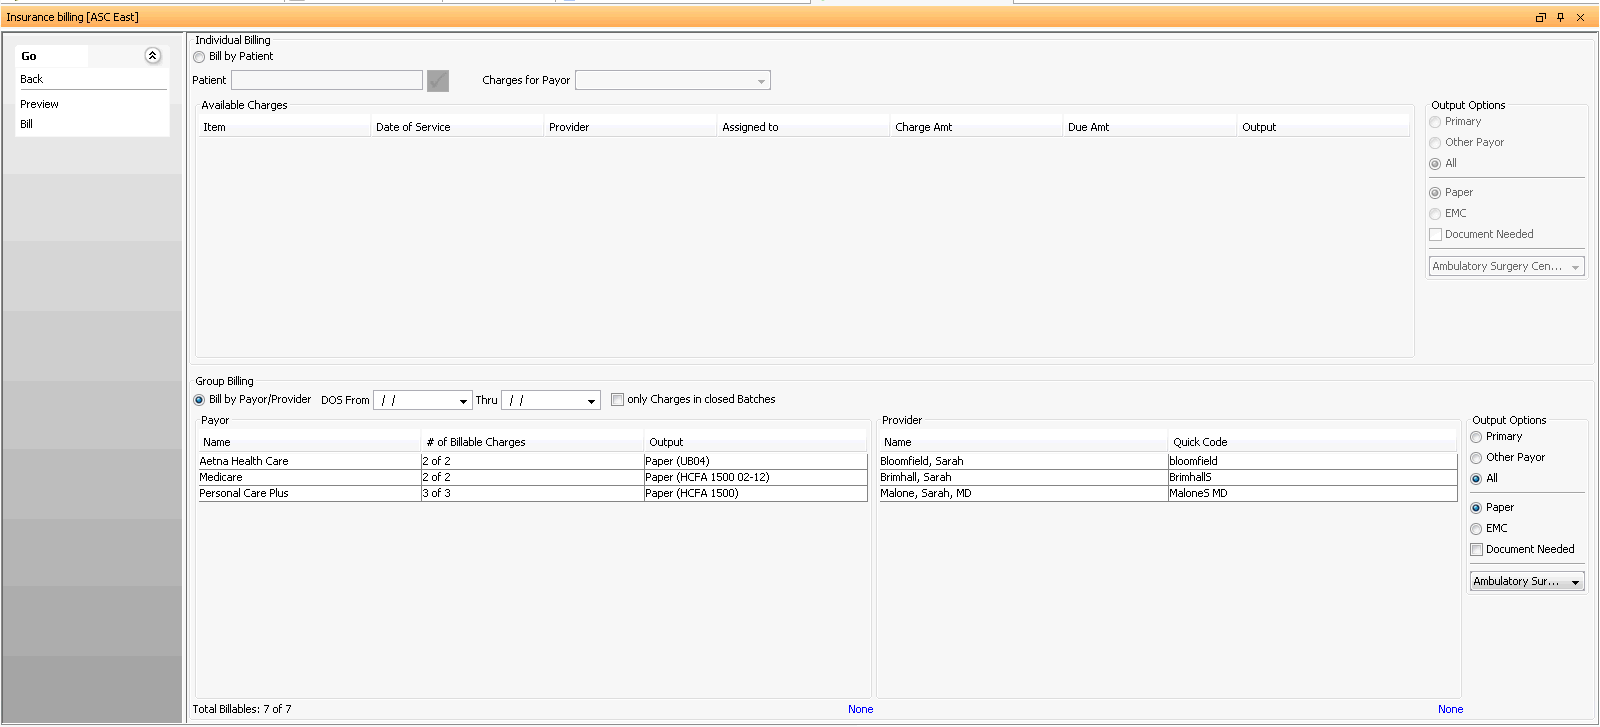
To generate a claim for a Group of Patients by Payor/Provider
- From the Financial Management module Sheet Bar, select Billing
> Insurance Billing. The Insurance
Billing screenInsurance
Billing screen appears.

- Select the Group Billing
radio button in the Group
Billing sectionGroup
Billing section of the screen. All carriers with
unbilled charges are listed in this section.

- All carriers listed in the Payor section will be billed in this run unless you highlight only the carrier(s) for which you wish to bill charges at this time. To select multiples, use Ctrl + click. To clear your selections, click None.
- You can
limit this billing run to charges
for specific providers
by highlighting the provider's name in the Provider list. To
select multiples, use Ctrl + click. To clear your selections,
click None.
- If you have selected specific carriers in step 3, and then select a specific provider, only charges matching both selections will be billed.
- You can further filter the charges shown by:
- Selecting From and Thru Dates of Service (DOS). Only charges whose DOS falls within the range you selected will be billed.
- Checking the Only charges in closed Batches check box
- In the Output Options section:
- Selecting one of these options: PrimaryPrimary
or Other
PayorOther
Payor.
Shows only charges that have been transferred to the Secondary or Tertiary Insurance.
Shows only charges that are the responsibility of the Primary Insurance.
Select a specific facility from the list of all facilities for the business entity to filter the available charges to show only those for the facility selected.
- Selecting one of these options: PrimaryPrimary
or Other
PayorOther
Payor.
- Under Output Options, select Paper to generate paper claims, or EMC to generate electronic claims. Settings in the Insurance Carrier dictionary in the Administration module determine which type of paper form or EMC module is to be used.
- When you generate claims using the following steps, all charges now shown (after filtering options were applied in the steps above) in Available Charges will be included. To select specific charges for billing from this list, highlight them. Use Click + ctrl to select multiples.
- Click the Preview button
from the Sheet Bar to put the charges through the AmkaiOffice “scrubbing”
process to check for any errors that must be corrected before the
selected charges can be billed. The system will provide a report on
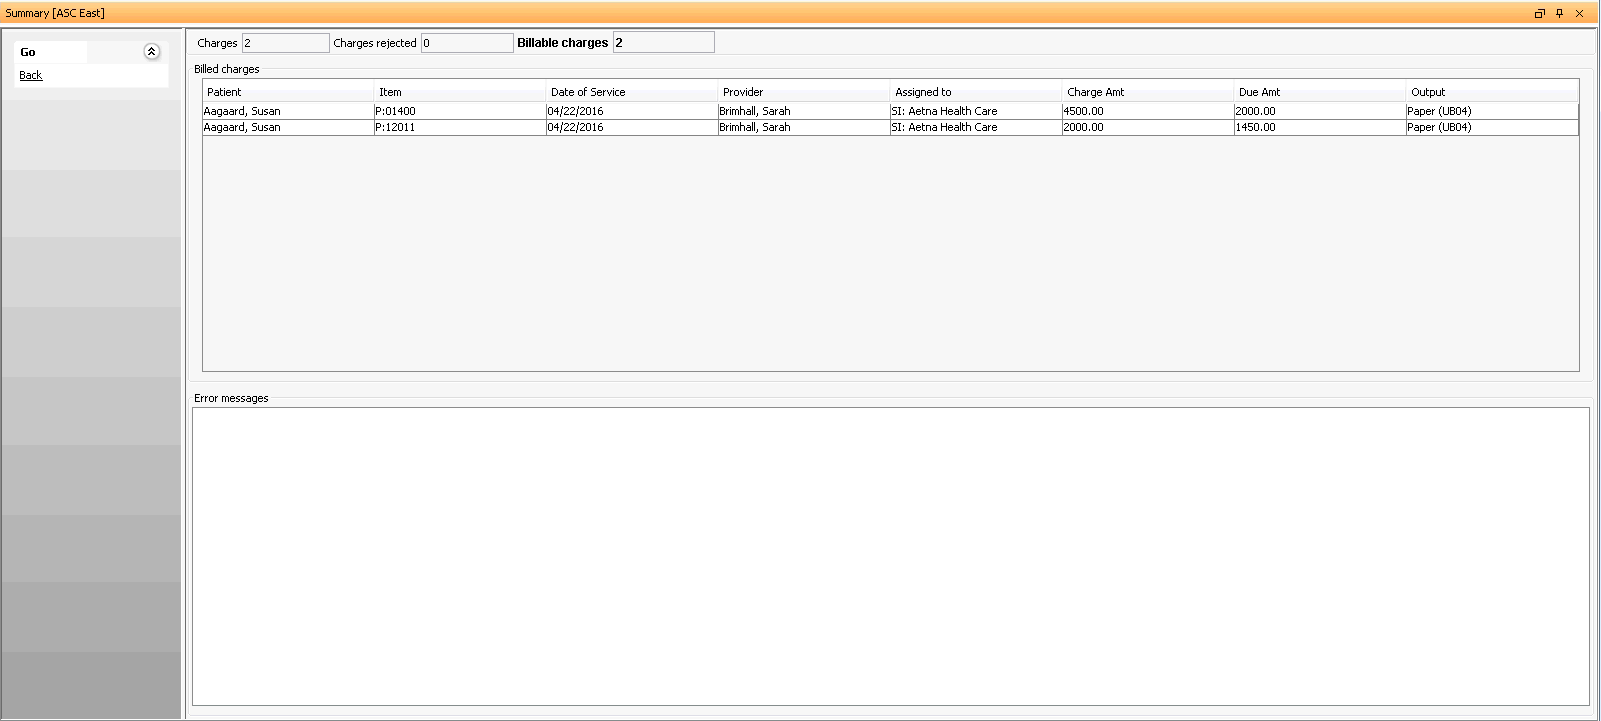
the next screen
that appearsnext screen
that appears.

- The charges shown in the Billed charges section at the top of this screen are ready to be billed. You can select Go > Back from the Sheet Bar to return to the Insurance Billing screen and then proceed to step 9 below to bill these charges.
- Any charges impacted by Error Messages on the bottom part of the screen will not be billed until the errors are corrected. Correct any errors shown in the Error Messages section of this screen by navigating to the screens where the corrections need to be made. The error message will typically include the screen on which the correction should be made. Then repeat steps 1 - 7 to prepare these charges for billing.
- Once back on the Insurance Billing screen, you can generate claims
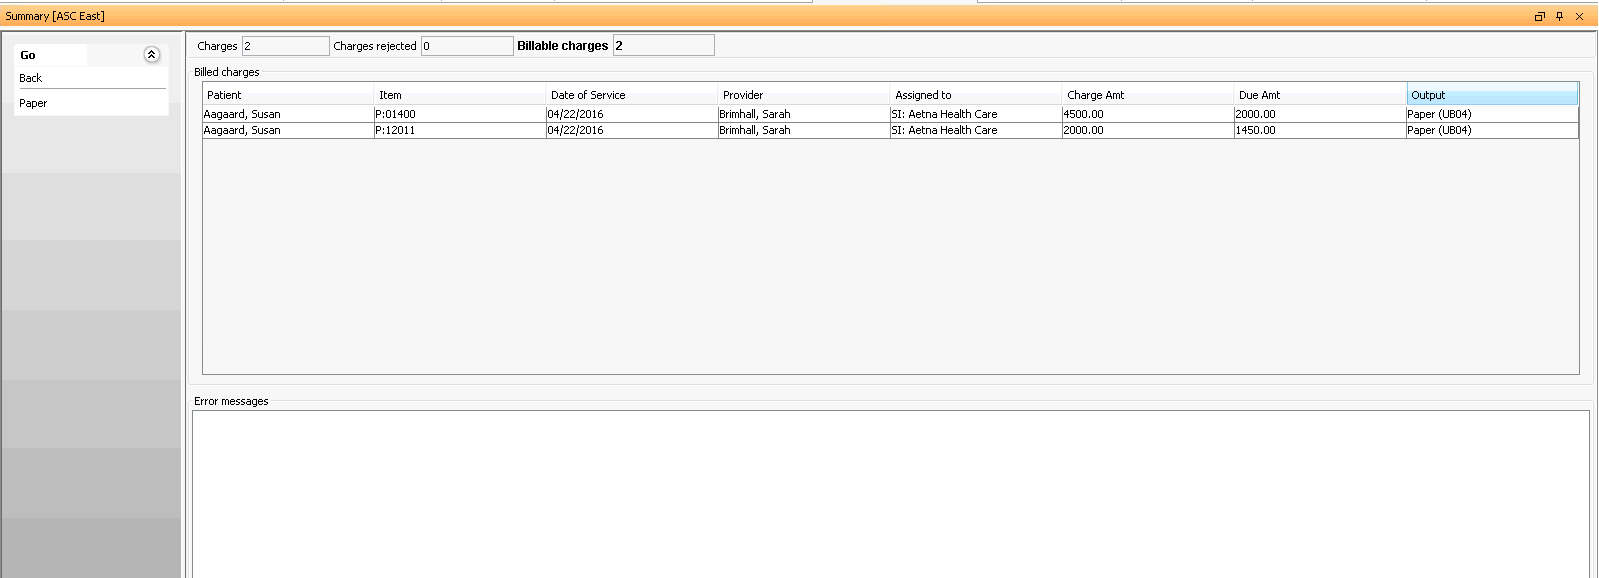
for the charges now shown in Available Charges by selecting Bill from the Sheet Bar: The Billed
ChargesBilled
Charges screen appears.

To print paper claims:
- Click Paper from the Sheet Bar. The Printing
ScreenPrinting
Screen appears. The Papers section of this
screen lists the statements that were generated (one per patient).
Click herehere
to learn about the fields in the list of statements.
Date: Displays the date and time that will be used for the bill date if charges are marked as Billed
• Module Name: Displays the EMC dictionary item that could have been used for the claim
• Form Kind: Displays the type of form that the claim will be printed on
• Charges: Displays the total number of charges that will appear on the printed claim
• Print Status: Displays False when the claim has yet to be printed, and True when the claim has been printed

- Select from these
fieldsthese
fields on the Printing screen to choose the
form type and other printing options.
Form Type: Select the form to print one form type at a time: HCFA 1500 or UB04. Select the form type and then click Print, then select the other form type and click Print.
Select All: Highlights all displayed charges, so you can print all of them (only the highlighted charges will print)
Select None: Highlights none of the displayed charges. You can then highlight individual charges from the list to print.
Show Printed: When checked, claims that have already been printed will still be displayed, when unchecked, only claims that have not been printed will be displayed
Use Background Form: When checked, will print the background of the claim form (for use if printing on plain white paper to display the background of the claim form)
- Click Print. Select
the parameters for your print job from the print dialog and click
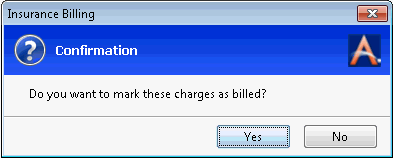
OK. A confirmation
messageconfirmation
message appears asking if you want to mark
the charges as billed.

- Click Yes to mark the charges as Billed. If you click No, the charges will not be marked as Billed, and you will need to repeat this process to generate and print claims at a later time.
- Click Paper from the Sheet Bar. The Printing
ScreenPrinting
Screen appears. The Papers section of this
screen lists the statements that were generated (one per patient).
Click herehere
to learn about the fields in the list of statements.
To file electronic claims:
Click EMC from the Sheet Bar. The EMC Output screenEMC Output screen appears. This screen lists all the claims that were generated. Click herehere to learn about the fields in the list of claims.
- Date: Displays the current date and time that will be used for the bill date if charges are marked as Billed
- Module Name: Displays the EMC dictionary item that could have been used for the claim
- Form Kind: Displays the type of form that the claim will be printed on
- Claims: Displays the total number of claims that are present in each electronic file
- Output File: Displays the location of the electronic claim file created

Select one of the following options:
- Click Yes to mark the charges as Billed. You will then need to submit the file to the clearing house for payment.
- Click No. The charges will not be marked Billed. You will need to repeat this process to generate claims at a later time.